
Ok, I might be just a little bit obsessed with the Anti-Gravity Cake Phenomenon!
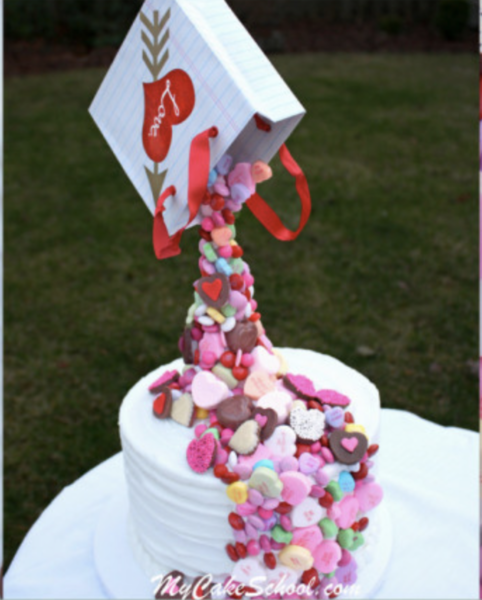
The first time I saw an Anti-Gravity Cake, I was blown away!! I had to learn how to make them (there are a plethora of ideas on Pinterest so only start looking if you have at least an hour!) I watched several tutorials like MyCakeSchool.com and had so much fun making cakes like this; BUT I have a confession, I only LIKE cake, BUT I legitimately LOVE ICE CREAM!! I eat it every day — I’m not kidding!
So, I decided to combine my two obsessions, Anti-Gravity and Ice Cream to make:
THE ULTIMATE ANTI-GRAVITY ICE CREAM SUNDAE!!

ARE THERE WORDS FOR HOW FABULOUS THIS IS?!!
Today is my birthday and guess what I’m having for dessert?!! BUT, it is over 2 feet tall, has half a GALLON of ice cream and approximately 6 pounds of candy in it, so I may need to share — just a little… giggle :)!!
If you, or someone you want to celebrate, has a birthday coming up (or frankly, if you are just wanting a really yummy sugar rush) you have got to make this!
Let me show you step-by-step how to easily make it!
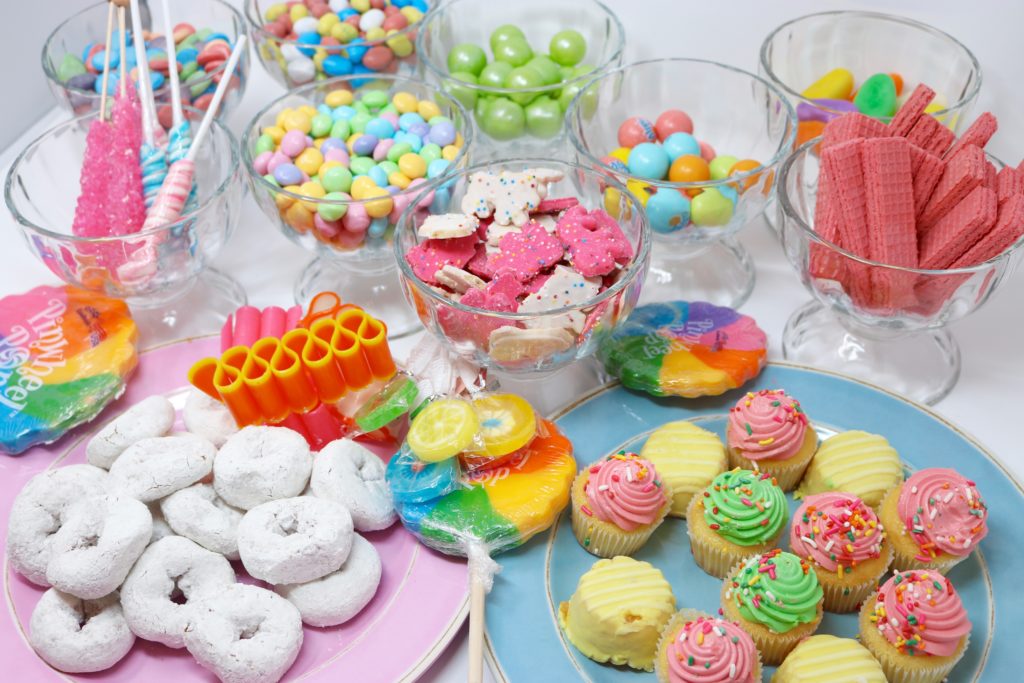
Step 1: Assemble your Favorite Goodies!
Truly, get creative here! You can’t go wrong!! As you probably have figured out, I love pastel colors, so I got my favorite goodies in my favorite colors! Perfect!!
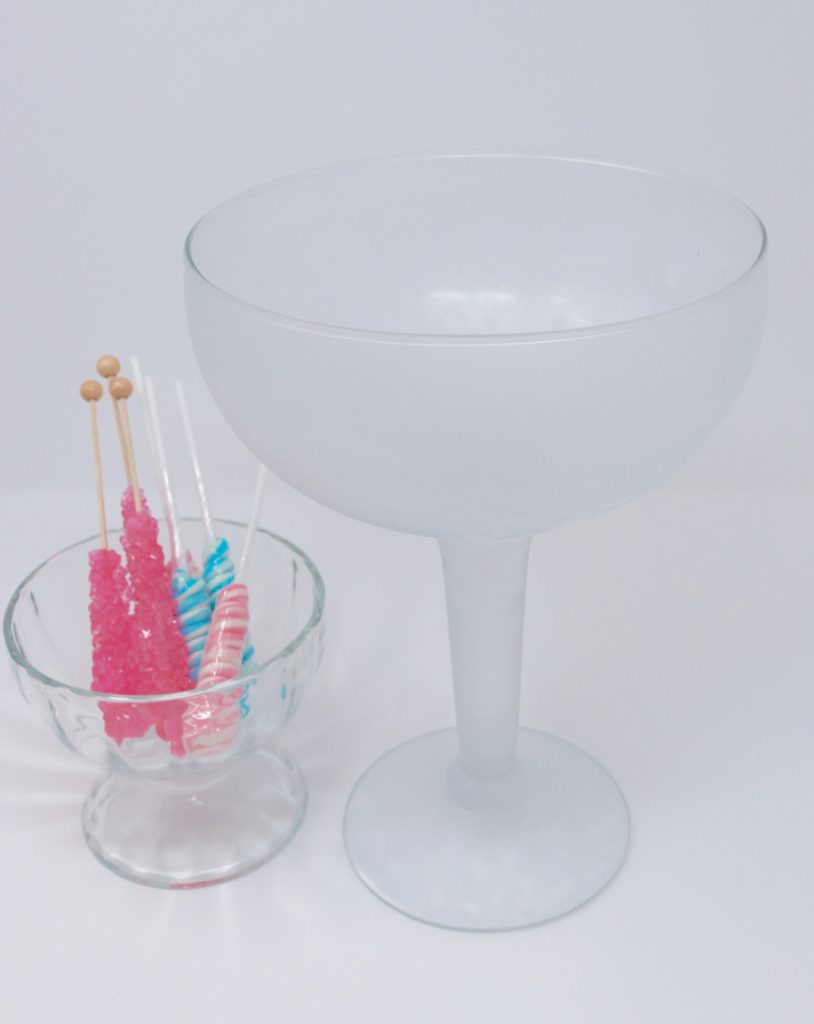
Step 2: The Ice Cream Sundae Glass!
Decide how big you want your sundae to be and buy a proportional glass! My glass is huge — 11 inches tall and holds 18 scoops of ice cream! I don’t think this is actually made for ice cream sundaes (this large margarita glass would work well too). I got mine at Michael’s but it looks like they no longer carry them. But really, just pick something that looks fun to you! It doesn’t even have to be clear glass.
Place the glass in the FREEZER for 10-15 minutes!
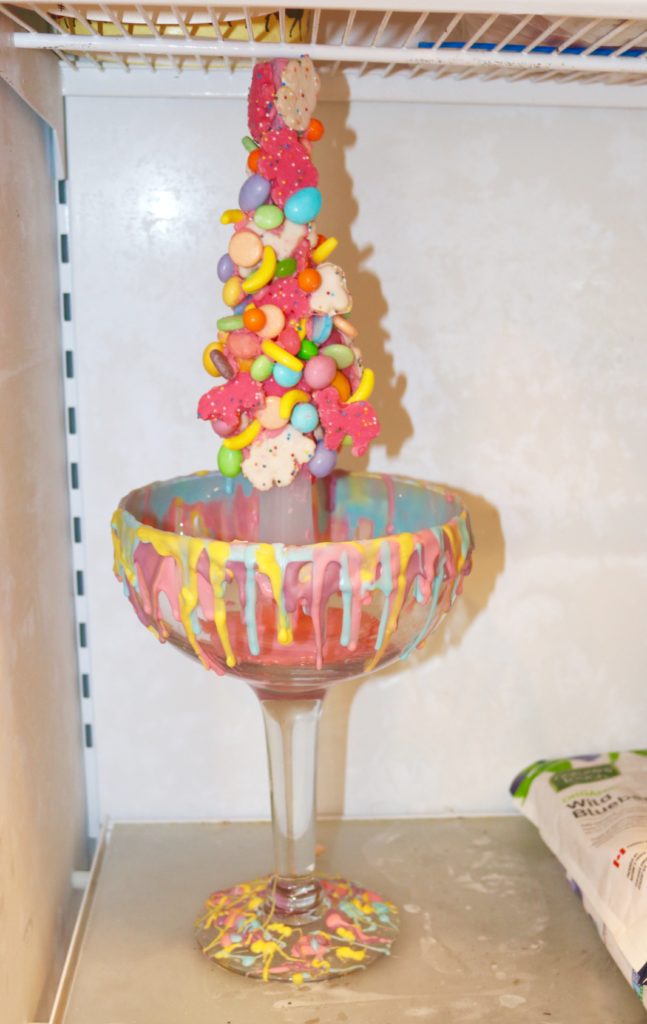
Step 3: The Drip Effect!
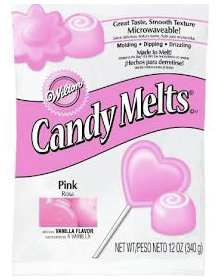
Pick 3 or 4 colors (preferably colors that coordinate with your candy) and buy the Wilton Candy Melts in those colors.
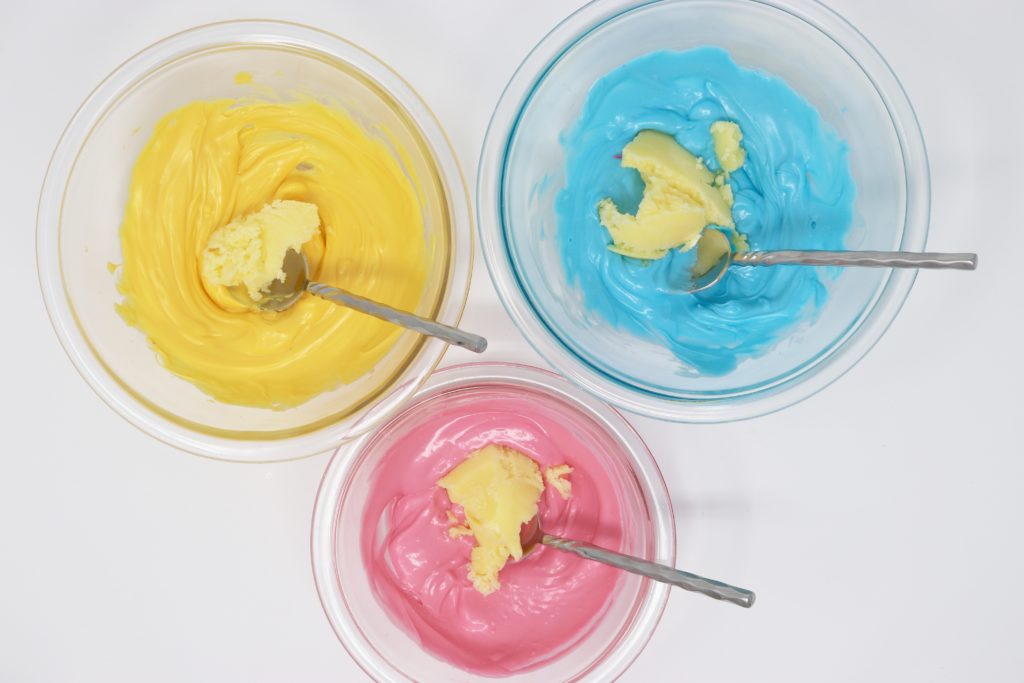
Follow the directions to melt the chocolate and then visually divide it into 4 quarters in our bowl. Add approximately 1/4 the amount of melted chocolate, in additional butter. See photo below if that is confusing! Place this back in the microwave and melt. Stir. The goal here is to get the chocolate runny enough to DRIP!
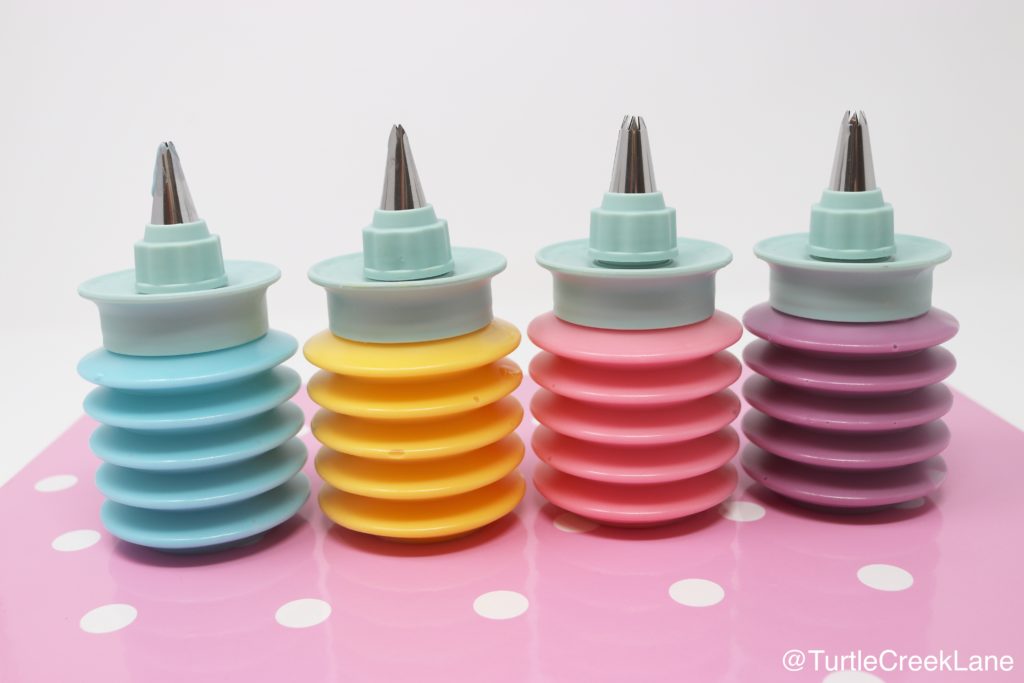
Place the melted chocolate in some kind of cake decorating dispenser, I used THESE.
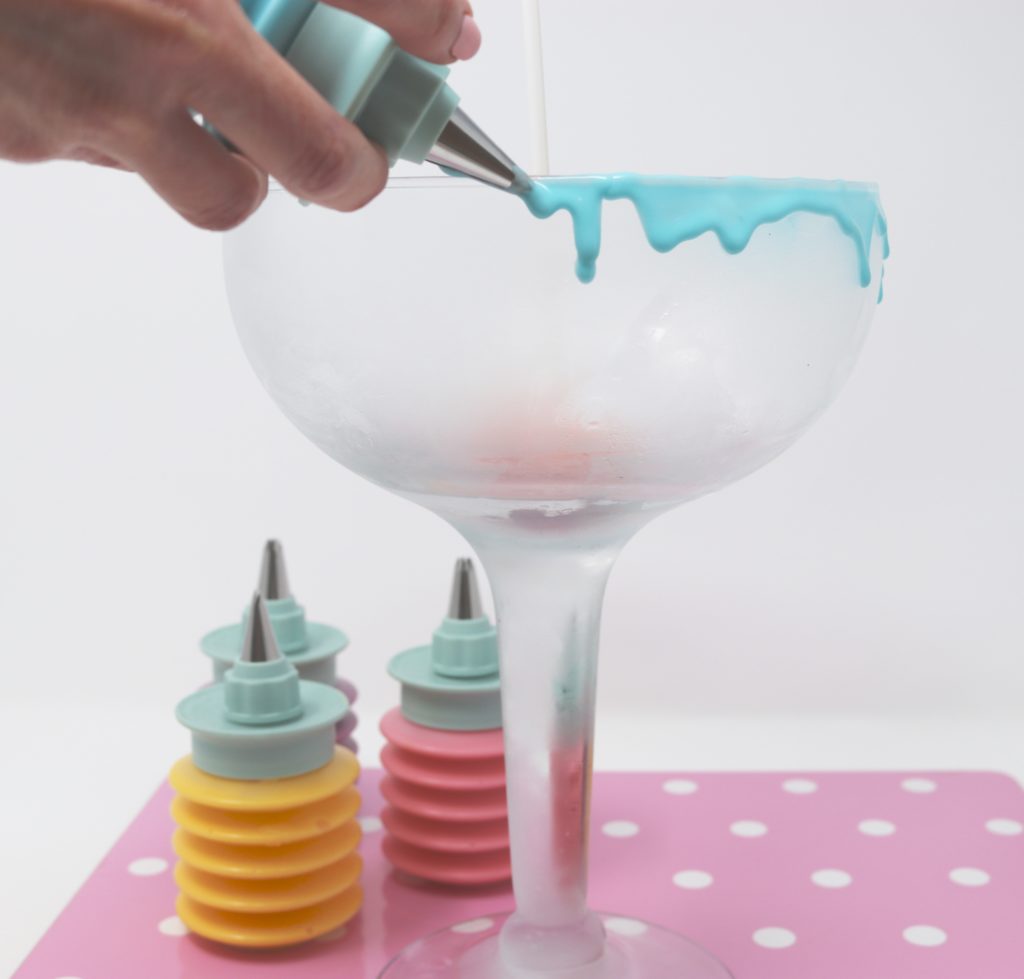
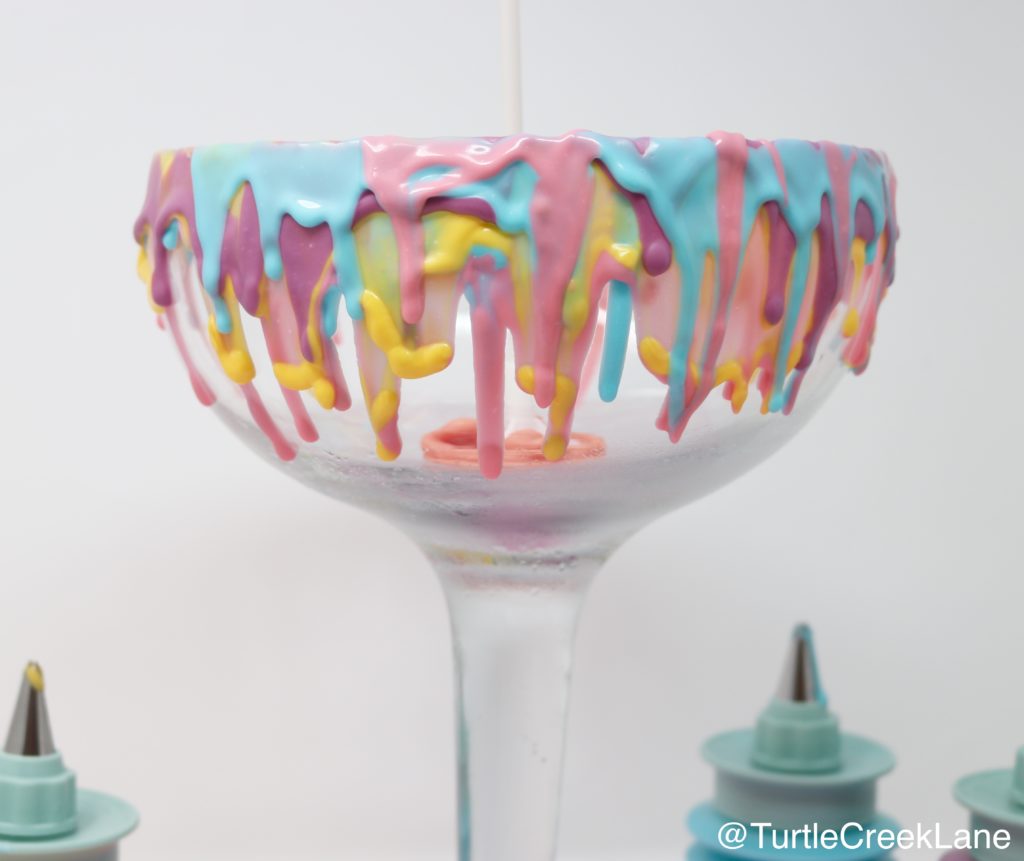
When you are ready to drip, remove the glass from the freezer and carefully drip it down the side of the glass. If it drips on the inside don’t stress! The ice cream will cover it. Have fun here playing with various drip lengths!! Because the glass is cold it will harden fairly quickly and you will be able to keep control.
After making your way around the glass completely, start with another color, trying to vary the dripping places.

How fun is this?? The messier the better :)!! I actually layered the colors twice to get the effect I wanted.
Step 4: Secure the Hardware!
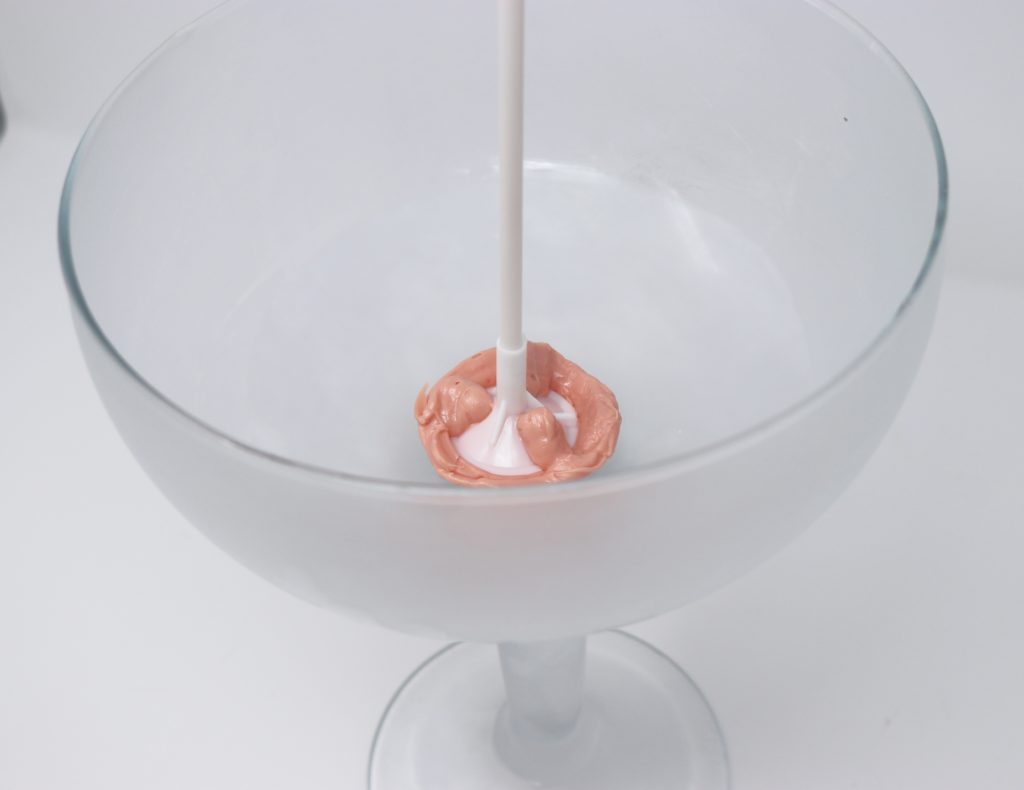
Ok, this is where you need to pay attention! You can achieve the anti-gravity effect two ways. The first way is to get a balloon stick. Attach the cup part to the stick and secure it with melted chocolate! NOTE: THIS IS NOT THE CHOCOLATE WITH THE ADDITIONAL BUTTER. Pick any color of Candy Melt and heat it in the microwave until it is just melted. Put a big glob in the bottom of glass and press the balloon stick to it. Allow this to harden. Depending on the type of candy you are wanting to stick to it, you may want to reinforce the plastic tube part with a wooden skewer. It will fit easily down the hole and give added support.
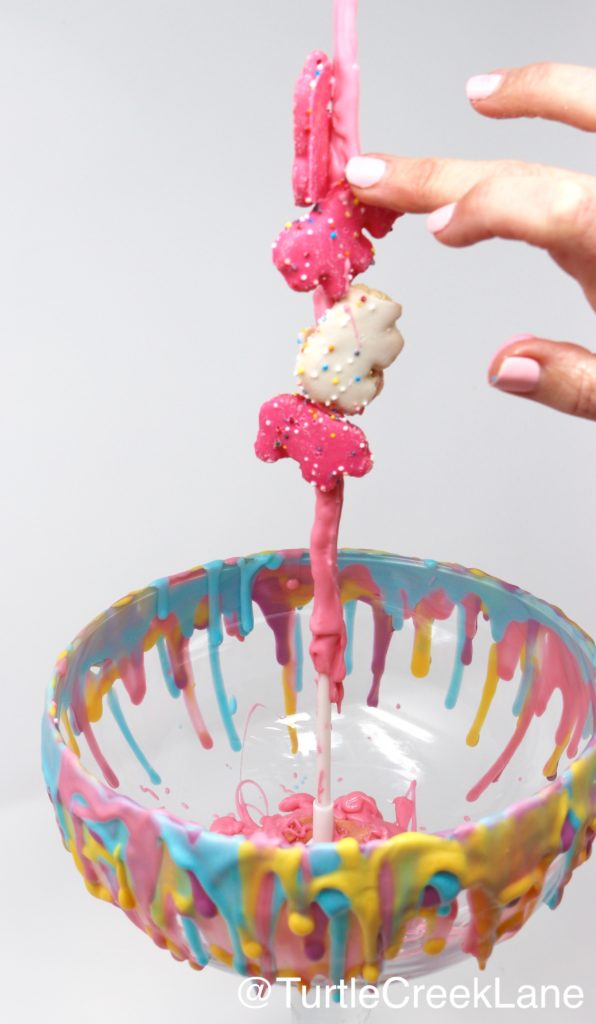
Once the stick is secure, coat it with melted chocolate. This is just melted Candy Melts!!
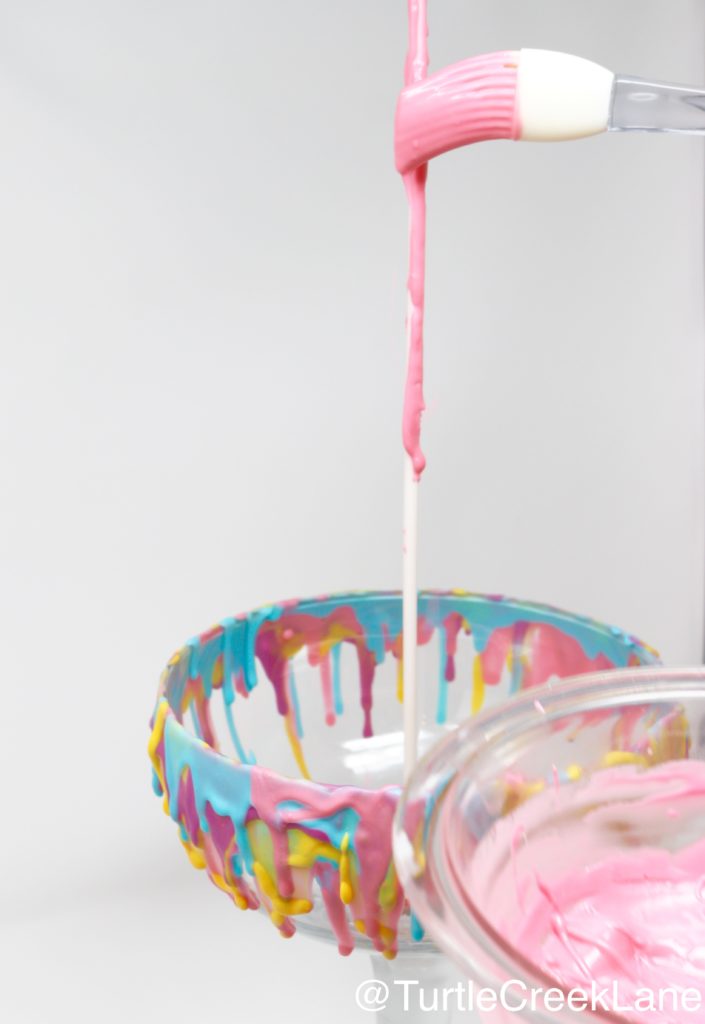
While the chocolate is warm (not hot), secure the candy (or cookies, or whatever you have chosen)! You will likely need to hold the pieces in place for a few seconds to harden! I would recommend not covering the entire stick all at once or parts of it will harden before you get to them!
The second way is to get a plastic cotton candy cone. (Do not use a paper one! It will not be sturdy enough!) Apply melted Candy Melt chocolate, followed by goodies. Secure the cone to the sundae glass with a BIG glob of Candy Melt chocolate (I added a marshmallow to the inside of the cone to give it extra surface area to adhere).
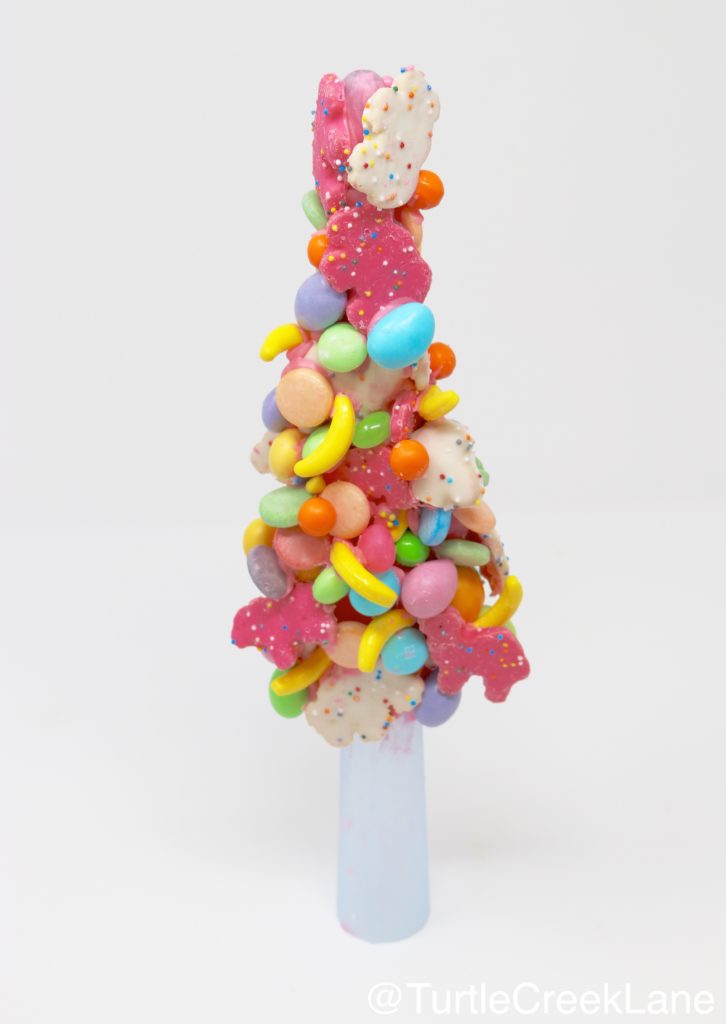
Place in the freezer again to harden all the Candy Melt chocolate!
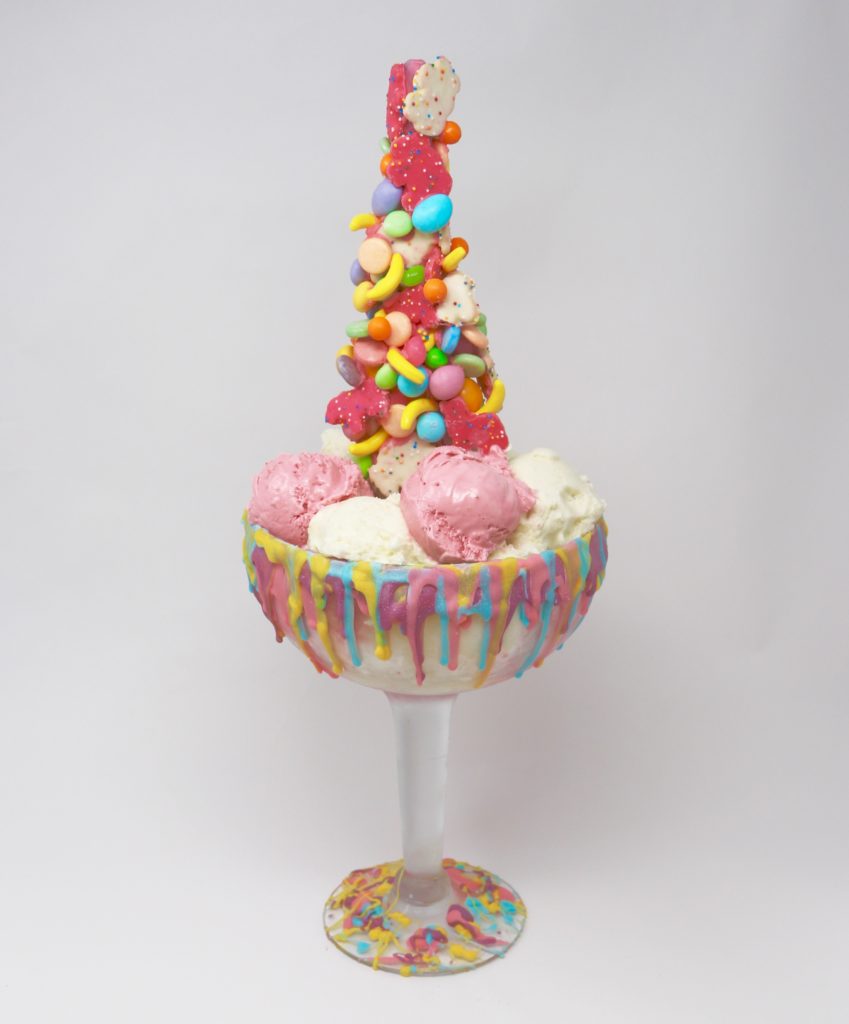
Step 5: Add the Ice Cream!
YUMMMMM! Pick your favorite flavor (or flavors) of ice cream and add as many scoops until the glass looks full ( I used 18!)! It is important not to let the ice cream melt too much at this point, so work quickly! I actually left mine in the freezer and just arranged it with the door open :). Put on your down ski jacket if needed – giggle!
Let the ice cream harden again before you start adding goodies!
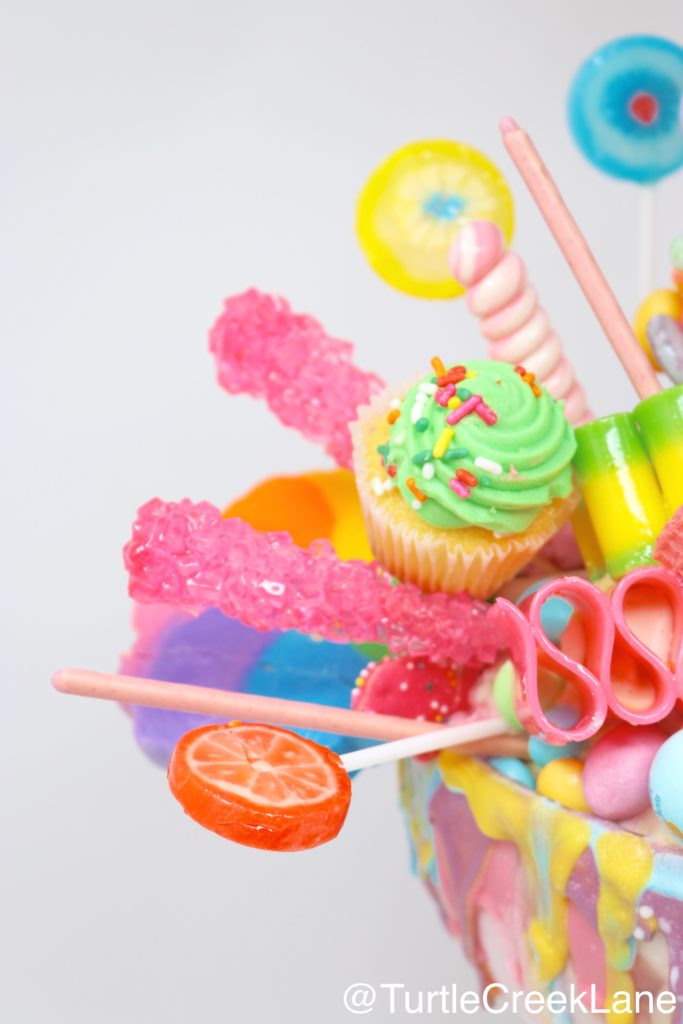
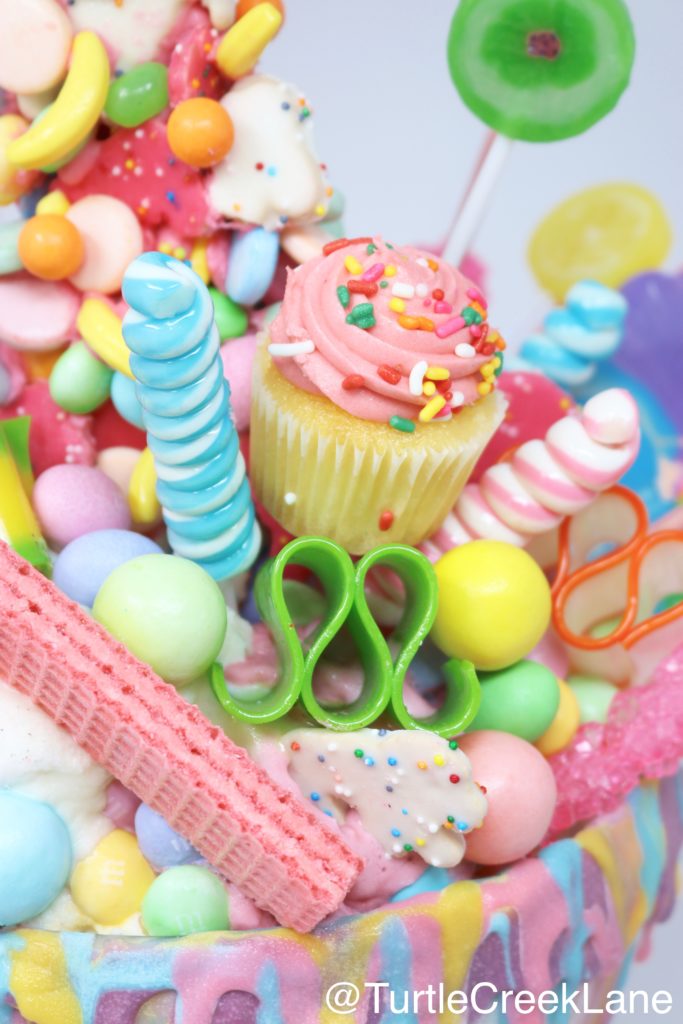
Step 6: Add the Goodies!
This is the REALLY fun part! There is no right or wrong way to do it!! As you start to assemble, just fill in spaces with appropriately-sized goodies! AND OVERDUE IT HERE!! Make it look FULL!
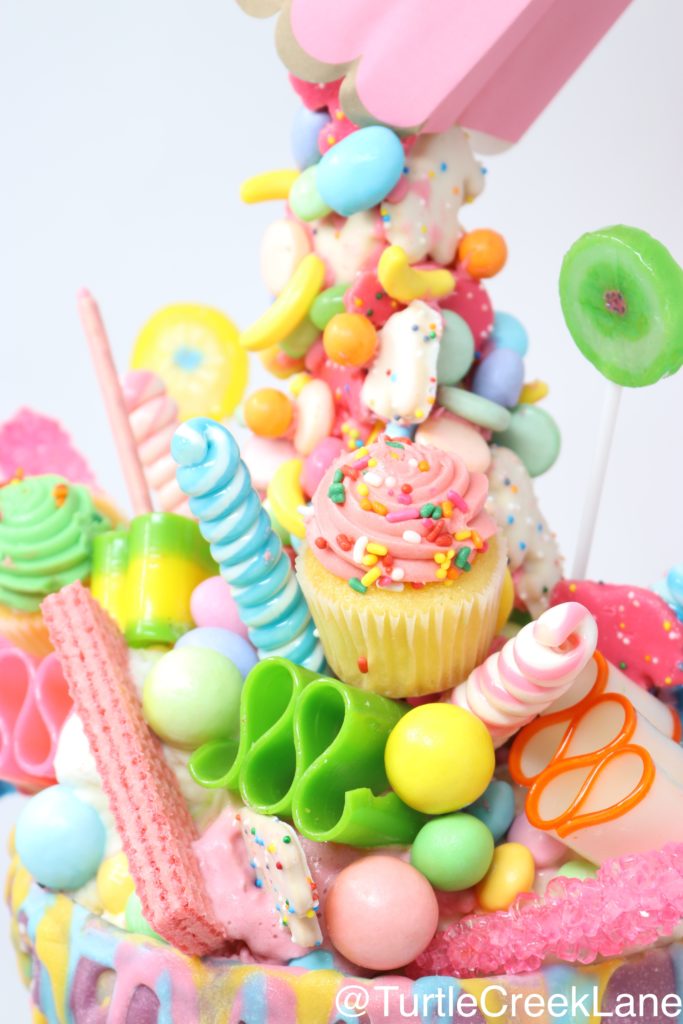
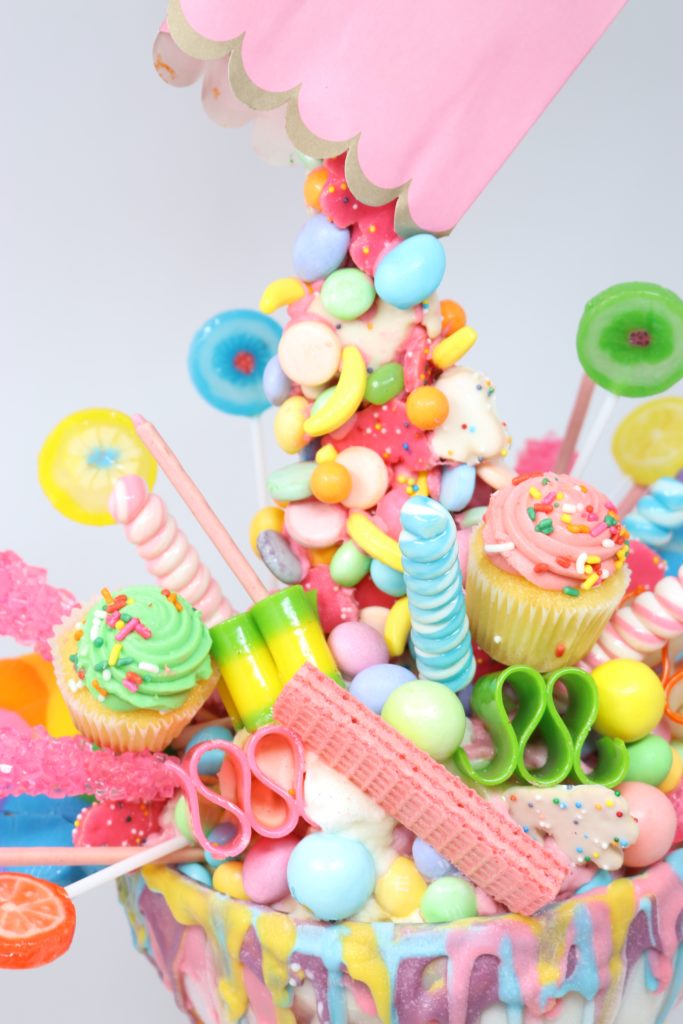
Step 7: Add the Bag!
The idea here is for it to look like the candy is pouring out of the bag!! If you have chosen to use only One kind of goodie (let’s say Skittles) you may want to use the actual Skittles bag. I had so many different goodies that I chose a cute generic bag. If you can’t get the bag to stay in place you can secure it with a little dab of melted Candy Melt placed inside the bag and attached to the stick or cone.
Tah Dah!!!!! I’m speechless!
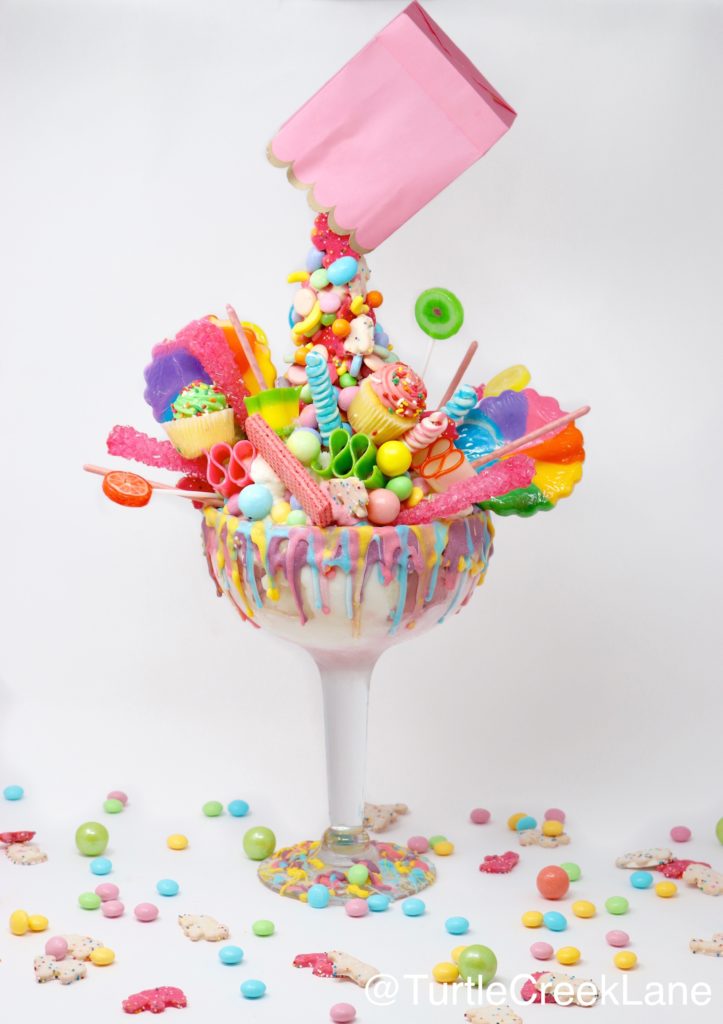

This Anti-Gravity Ice Cream Sundae is truly a show-stopper!! And let’s get real, who wouldn’t love to be celebrated with something like this??!! I can’t wait to eat it tonight — with a side of Birthday Cake that I’m sure my friend, Gwen, is bringing by!
Take the time to Celebrate! Make life for those around you joyful!!
Hugs… Jennifer!
Happy Birthday, Jennifer! You may want to have some alka selzter on hand before you tackle that ice cream sunday! LOL
Haha! I think you’re right, Sheron! Thank you for the kind Birthday wishes!
This is AMAZING! Pinning it right now!
– Claudia
http://www.justalittleblush.com/
Thanks, Claudia <3
Love this! I have a friend who loves ribbon candy. Could you tell me where you bought your ribbon candy? I think it’s difficult to find. Thanks, and thanks for sharing all of your great ideas! Jean
Honestly this is the most amazing thing I have ever seen. I 100% will make this for my daughter for her birthday* coming up. Oh my gosh, how fabulous. I follow you on instagram and had no idea you had a blog. What fun. I love blogs.
deezie
YAY! Thank you so much! :))