Let’s face it – The kitchen is where we LIVE!
We want this area of our homes to say “Love” more than anywhere else because this is where the people we cherish most will come to eat and visit (and if your home is like mine, do homework!)
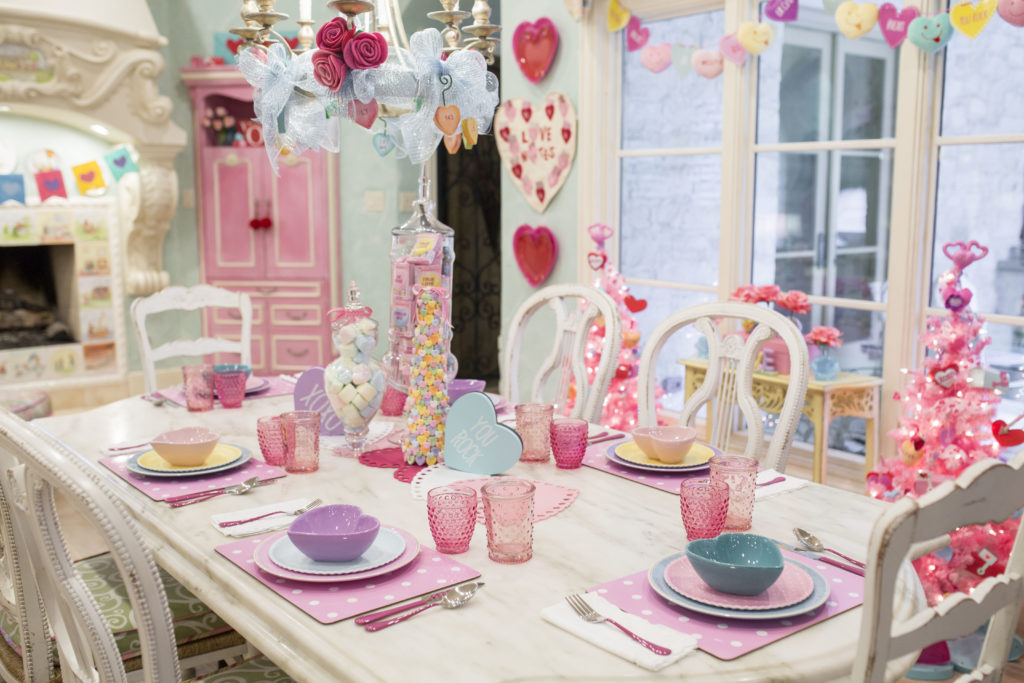
For my breakfast room (the place where the kitchen table is….why we call it the breakfast room is beyond me) I wanted to use Valentine Conversation Hearts as my theme… which means I got to use a ton of my favorite soft pastel colors!!
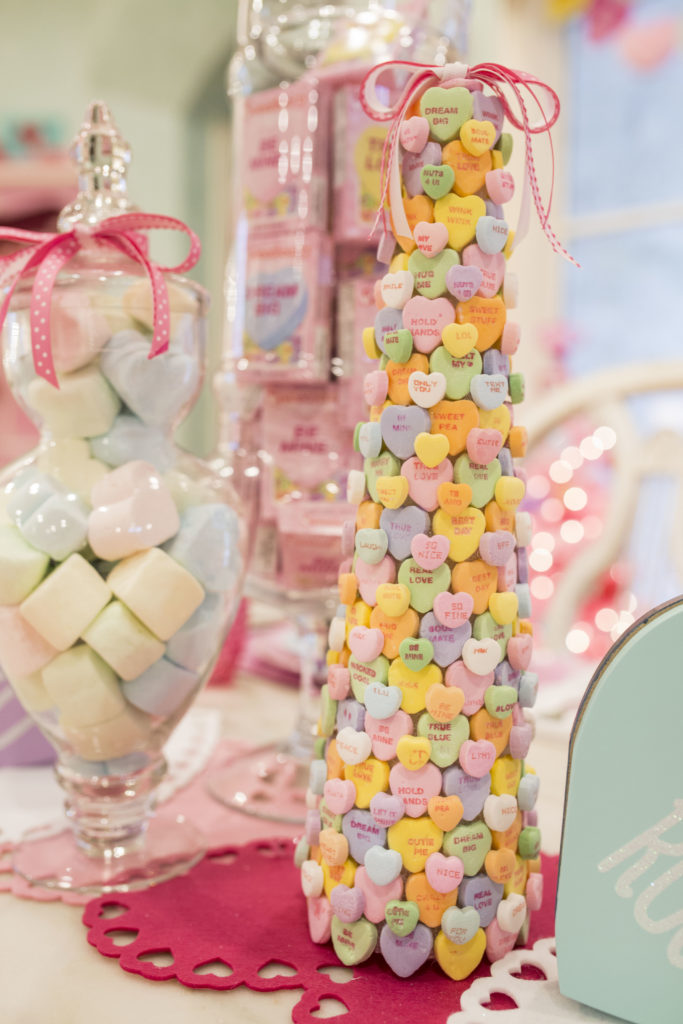
Ok, do you just love this conversation heart tree?!! My friend came over the other day and we spent the morning making candy trees! (See the kissing booth post for the other two we made) It was so fun and our plan was to solve all the world’s problems… but I’m afraid we spent too much time trying to figure out what the heck our kids do on Music.ly and what all the new modern “messages” on the hearts meant!!! giggle… : )
I will say, however, they take a lot longer than you would think! So if you decide to make one, allow yourself several hours! Otherwise…you can buy some already made here : )
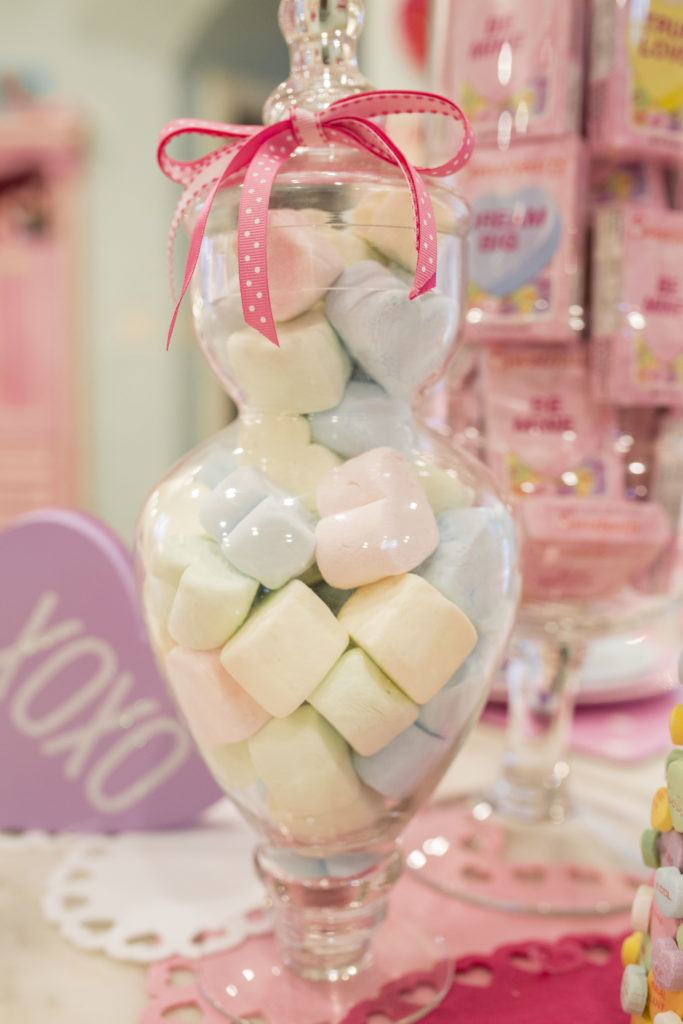
Below, you will see the much easier option to the candy trees : ) I found these heart marshmallows at Target!
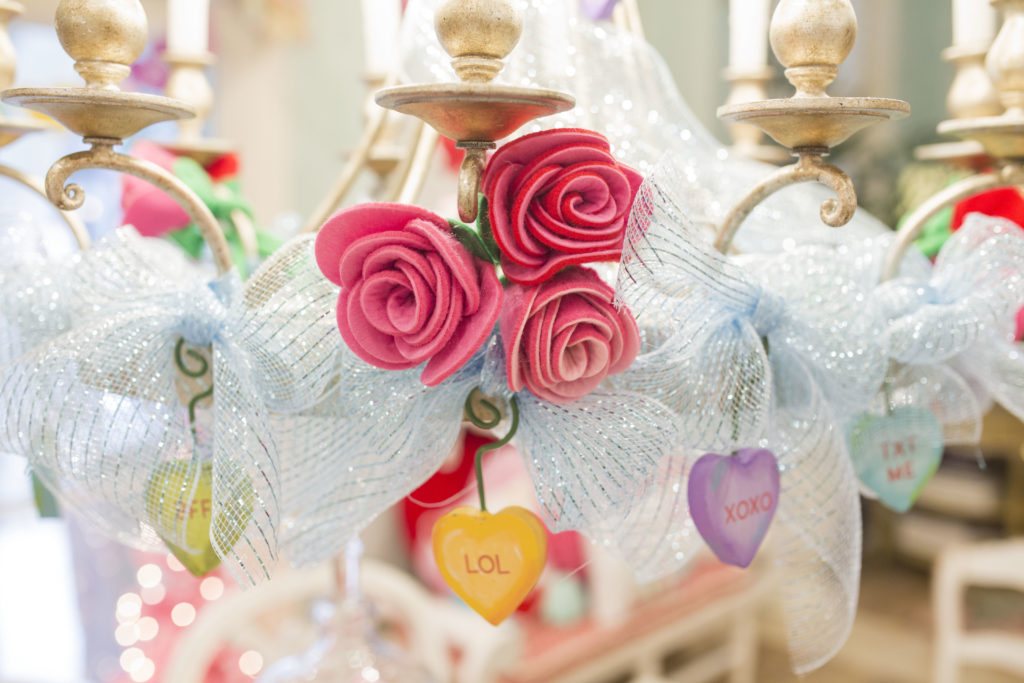
I decorate this light fixture for every season and I have to say, I adore this Valentine design. I’ve never done it before! Sometimes it’s the simplest designs that give us the most credit!
It was late one night, the kids were tucked in bed, I had decorated all day, and I really wanted to go to bed too! But, I wanted to finish the kitchen and surprise the kids in the morning at breakfast. I had to finish!!
I looked at what I had left in my “Valentine bin” and I saw this soft blue mesh ribbon! My mind woke up and I started playing : )) I intertwined it around the arms, tied big blue bows to attach the hanging conversation hearts, and finished it off with simple felt roses! Simple design, 30 minutes max install, and I was off to bed — dreaming of conversation hearts!
Ice Cream anyone??!!
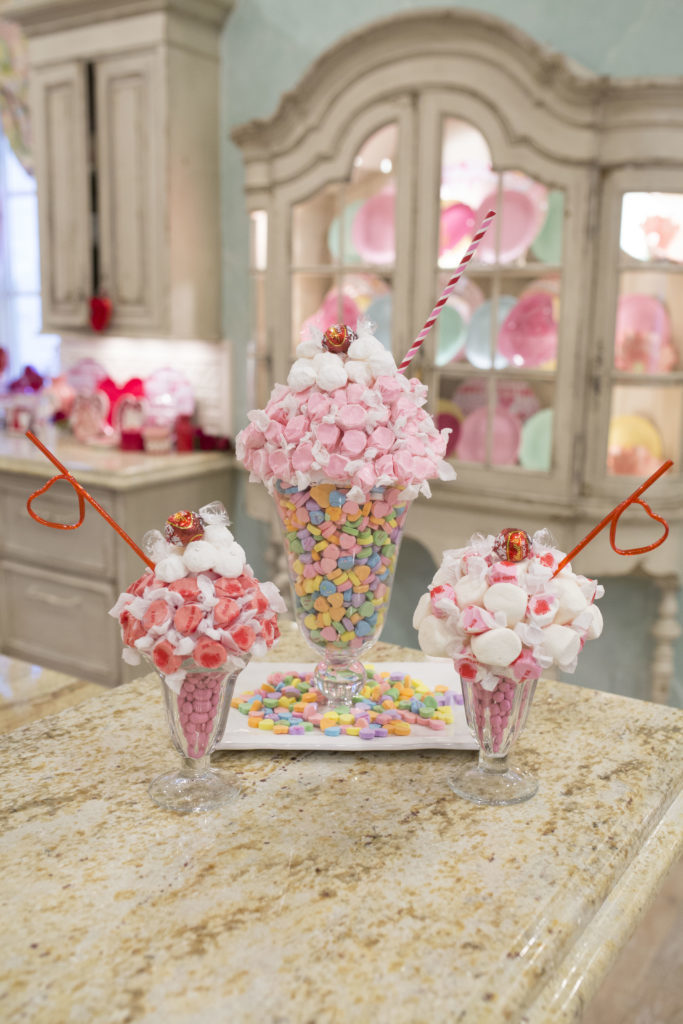
Ok, so these adorable sundaes were especially fun and EASY to make!! Well…. except for the fact that the craft store didn’t have 1/2 styrofoam balls so I had to use my husband’s power saw thing (I’m not well-versed in power tools) to cut it in half! You would’ve thought I was cutting through metal. I tried the kitchen knives first… but no way, I had to resort to electricity!
After all that, I simply added conversation hearts in an old-fashioned milkshake glass (pink M & M’s in the smaller ones), lightly hot glued the 1/2 round with two dots to the vase, and added pink taffy, white meringue balls to resemble whipping cream, and a “cherry” on top. To finish the look I added some Valentine straws! How cute!!
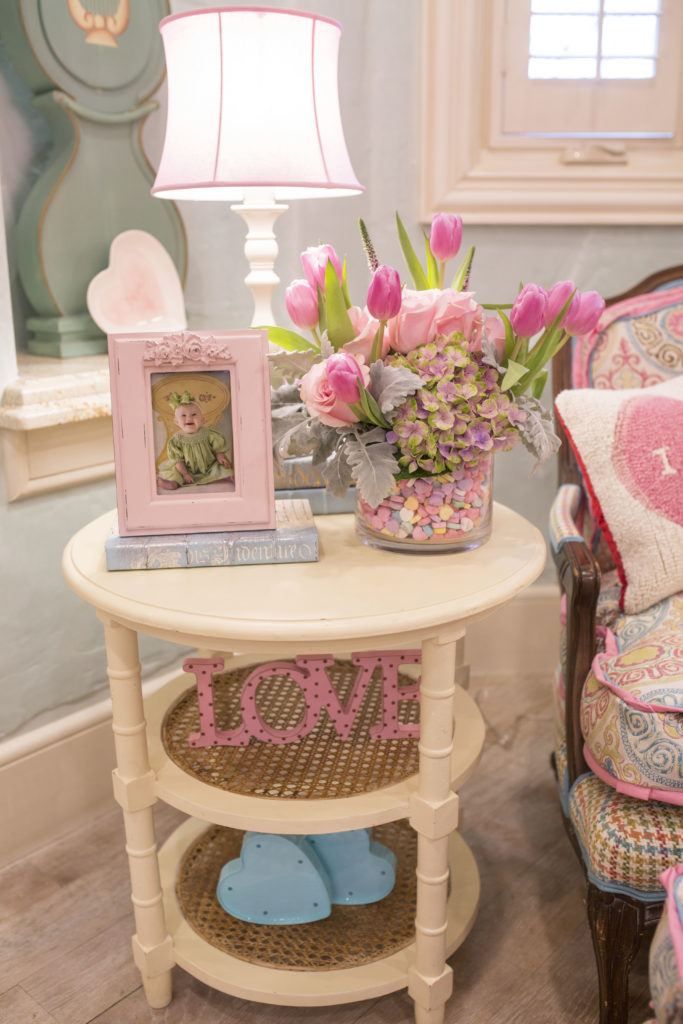
Of all the flowers my husband has given me, I think this arrangement is my favorite! I DYI’d the conversation hearts however!! It’s so simple to do!
You will need a vase approximately two inches larger than the vase the flowers are in. Carefully place the arrangement down into the larger vase, being sure to center it, then carefully sprinkle the conversation hearts in between the two vases until the space between the two is full!! ADORABLE!
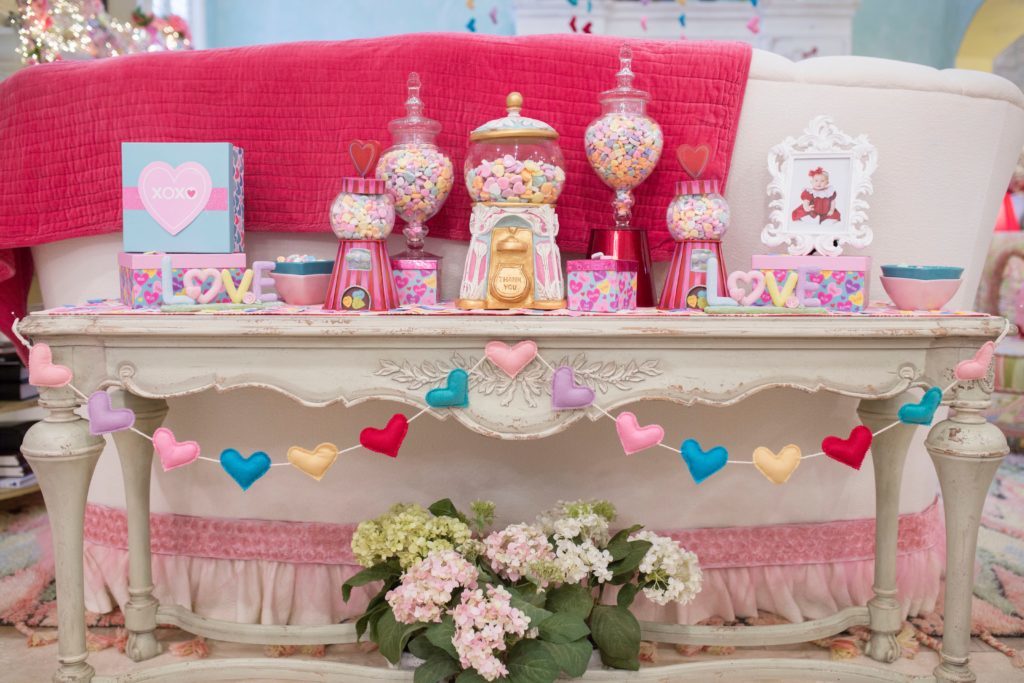
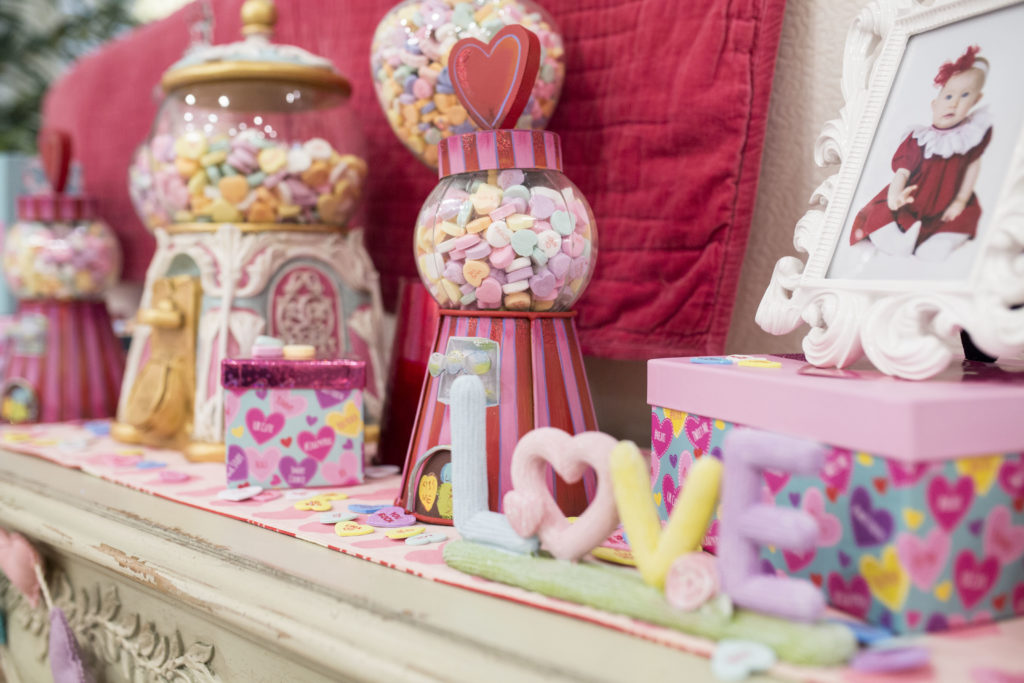
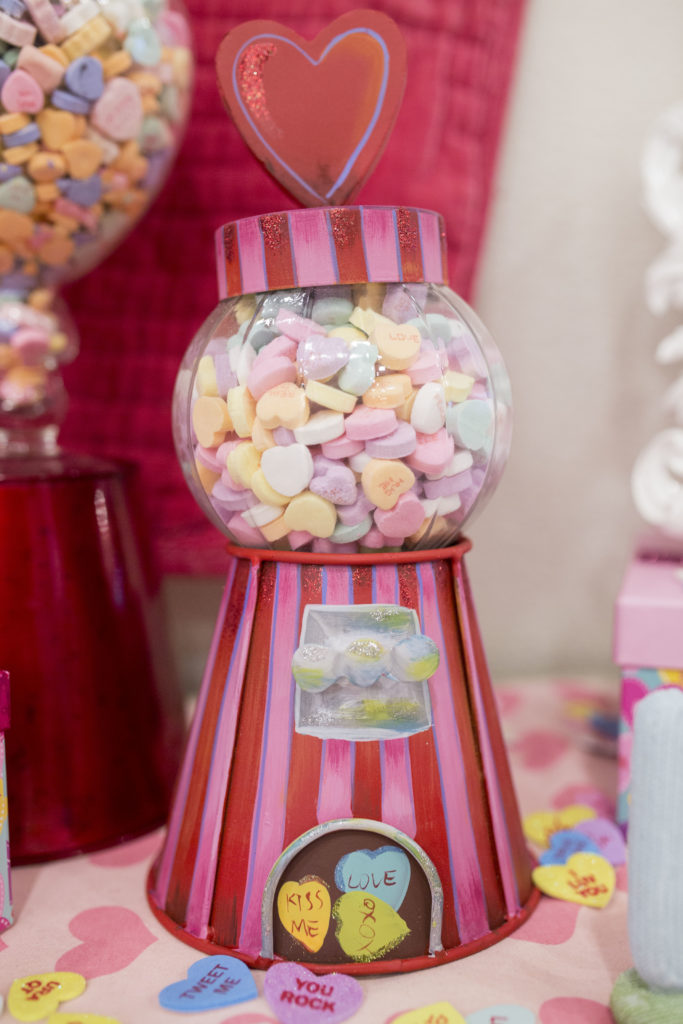
This table is literally EYE CANDY in my kitchen! I love the combination of the three “gumball machines” that are actually conversation heart machines!!
The one in the middle was dark green and red when I bought it! I decided I would risk the purchase and paint it in my colors. I broke the glass part in the process and was so frustrated! I thought it was ruined because it was screwed into the bottom. Then one day, while I was buying mice for my son’s snake at the pet store, I saw a “fish bowl”! That’s it!!! I simply perched it in the shallow opening and the added weight from the candy held it in place (no need for a screw). I put the lid on top and…..ta-dah!
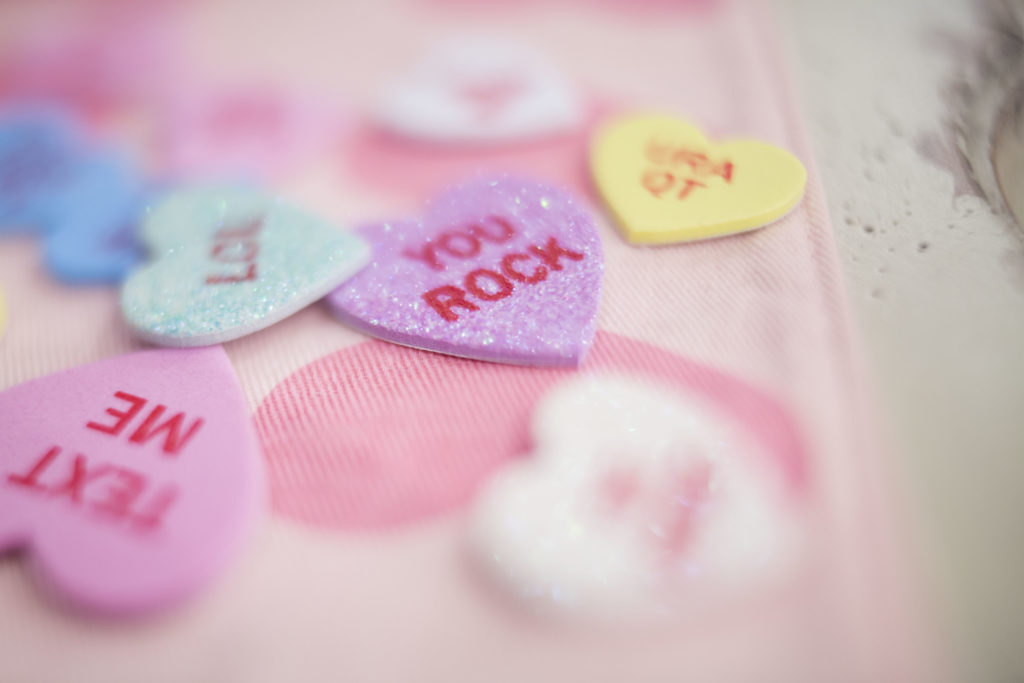
One more use for the pink Christmas trees that were in the living room for Christmas!! I love incorporating Valentine trees into my February decor and especially if they are PINK!! They were a perfect fit in the kitchen!
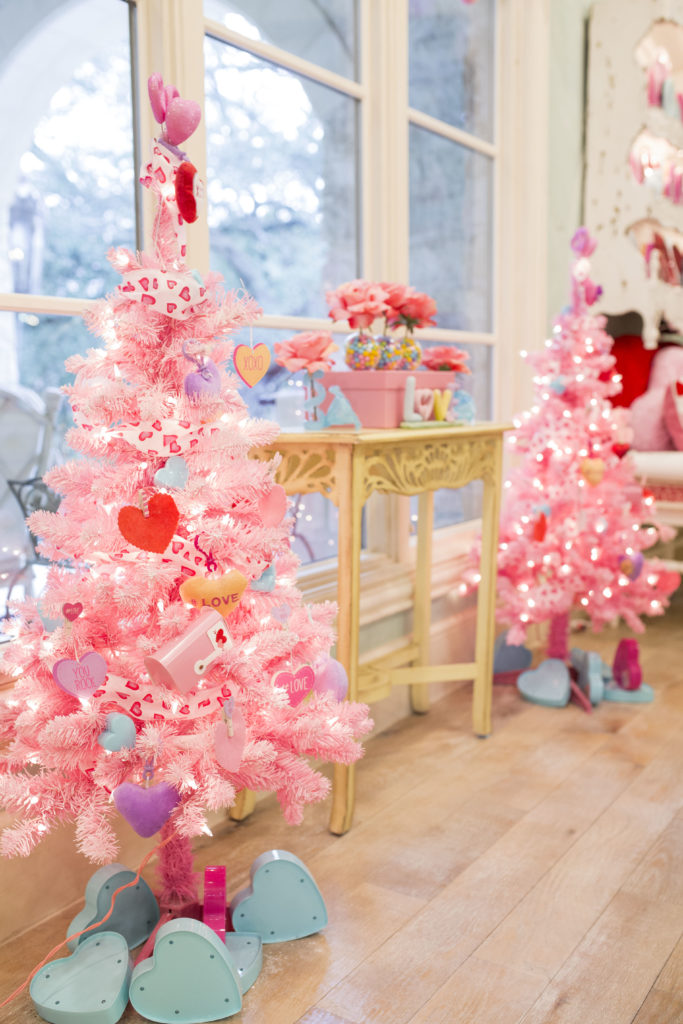
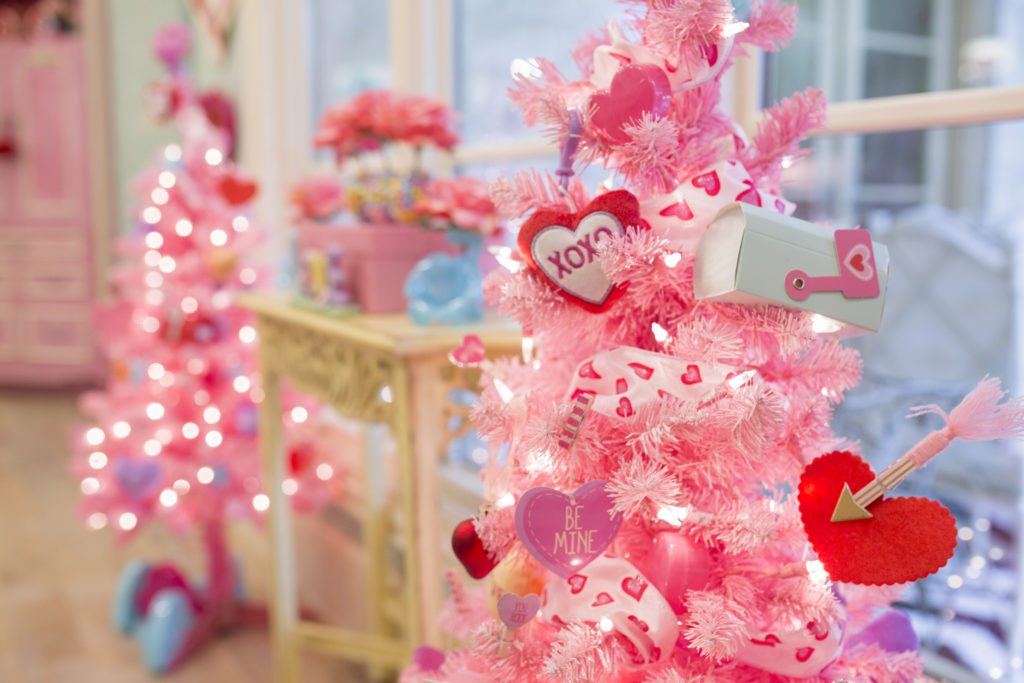
I placed a small yellow table between the trees and accessorized it with some vases I had on hand. In order to carry the conversation heart colors over, I simply filled the triple bubble vase with colored sixlets.
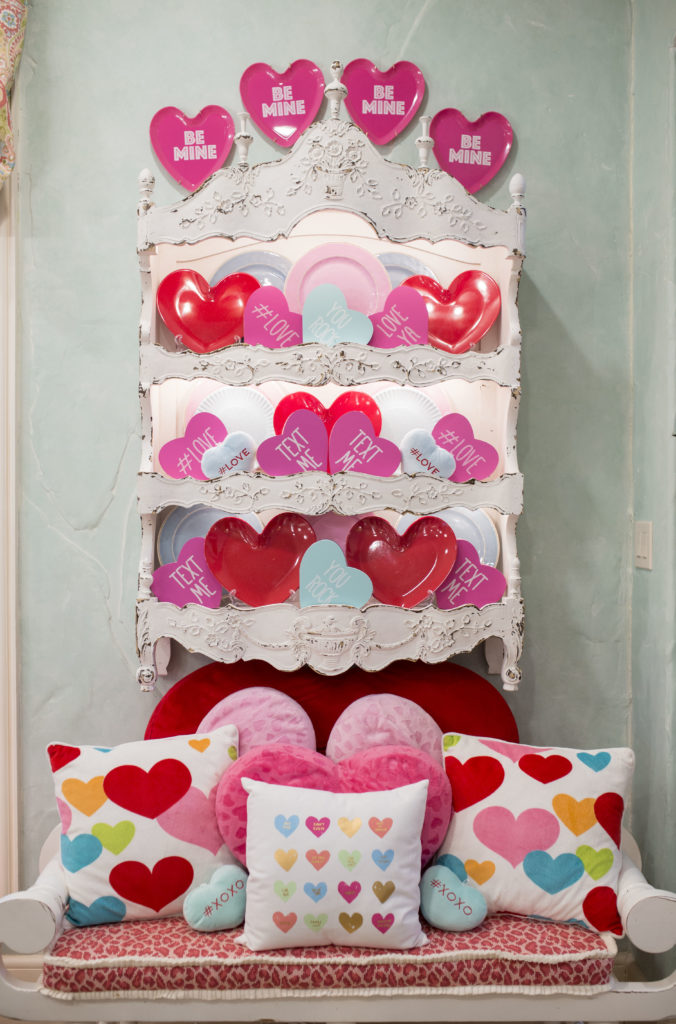
I have loved accessorizing this plate rack over the years! As you can tell, it is meant to be on the floor but I thought hanging it on the wall gave us so much more credit!!
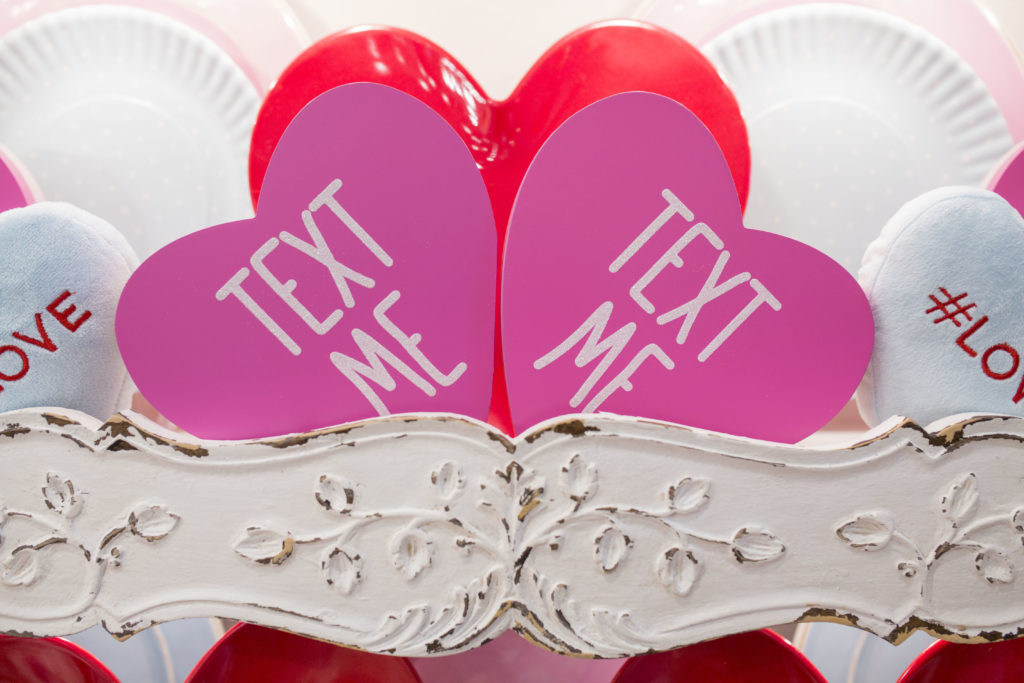
I will say, IF ANY OF YOU HAVE SEEN CONVERSATION HEART PLATES, please let me know!! I’m pretty sure they don’t currently exist! I found these wooden conversation hearts at Target, and the red heart plates are on clearance at Crate & Barrel right now! Click here to get them!
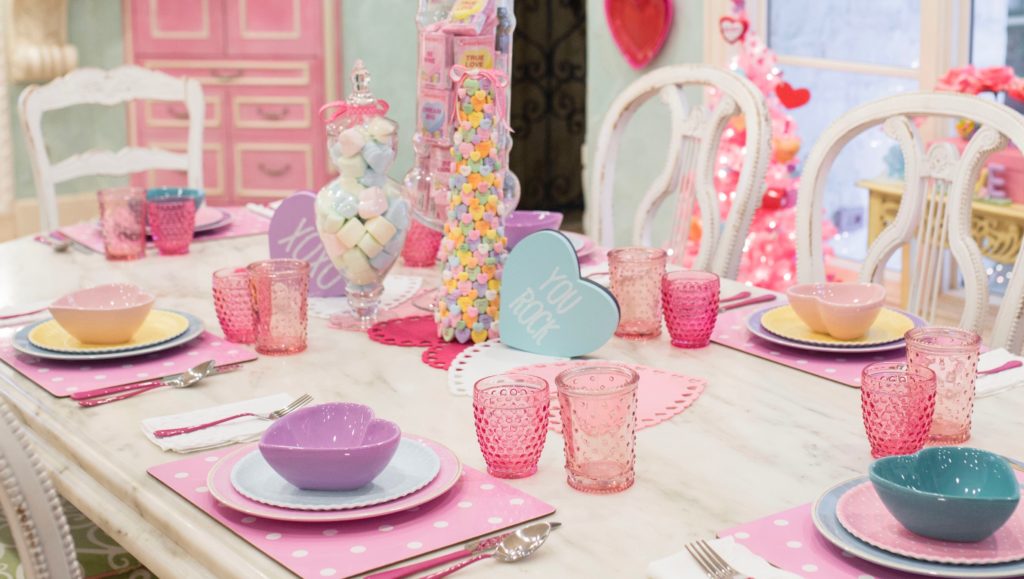
For the plate setting, Pottery Barn Kids was my Go-To! They had these pink polka dot placemats, conversation-heart colored chargers and fabulous polka dot pink glasses!!
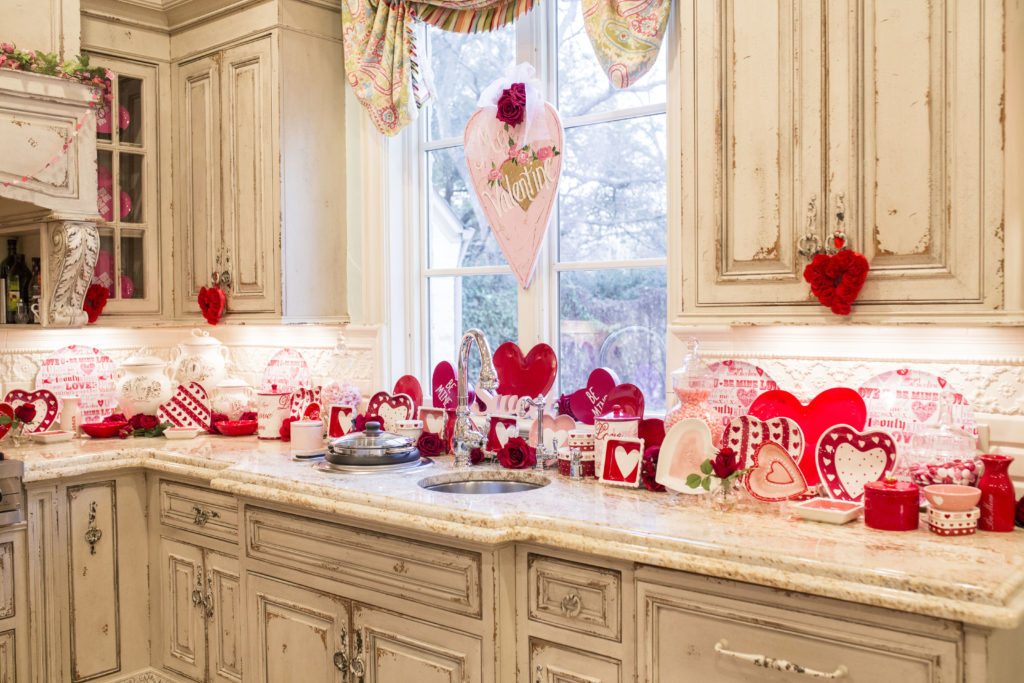
For the actual Kitchen area, I went with a more traditional red and pink theme…
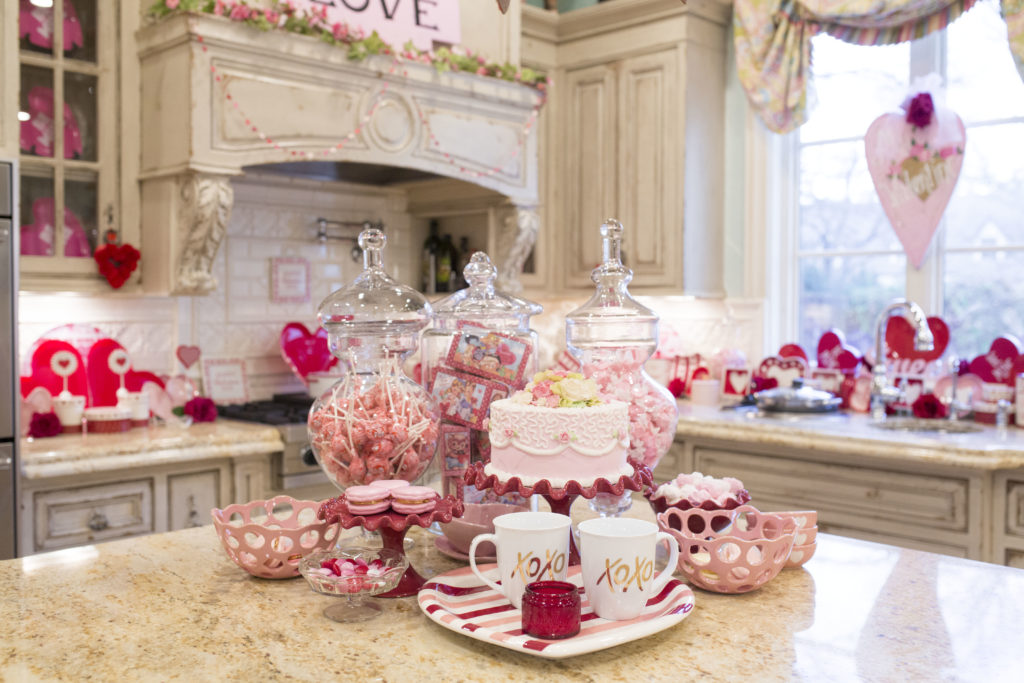
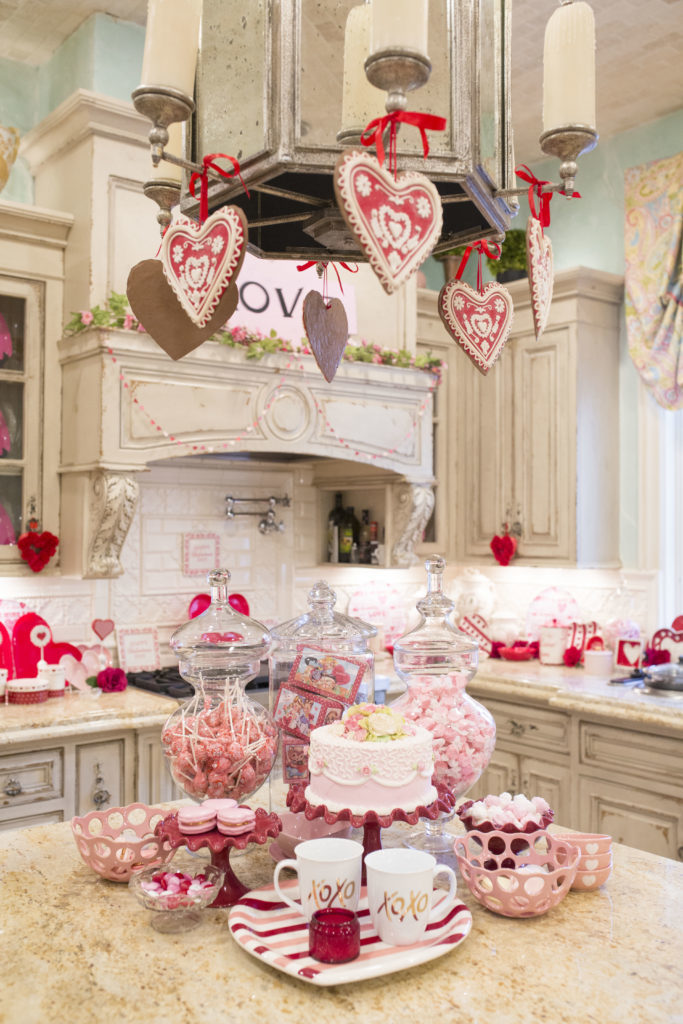
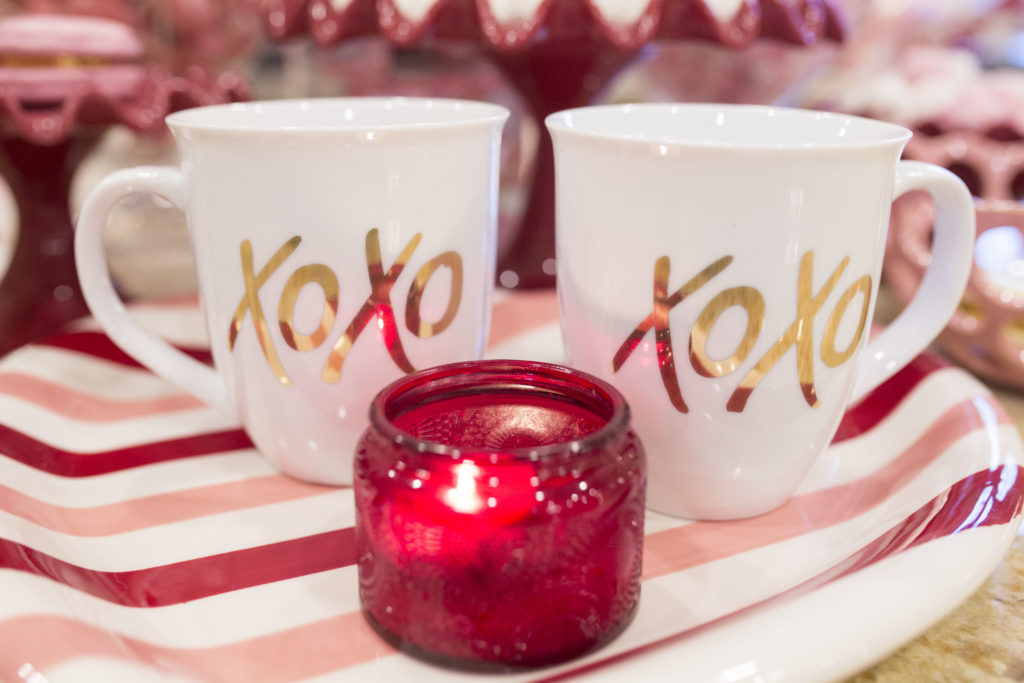
These cute xoxo mugs are half off right now at Pier 1! Whenever I am asked what the one decor item is that I couldn’t live without, I always respond glass jars! They are so versatile and use them all around the house! For the island, I filled them with vintage valentine cookie boxes, suckers, and pink taffy.
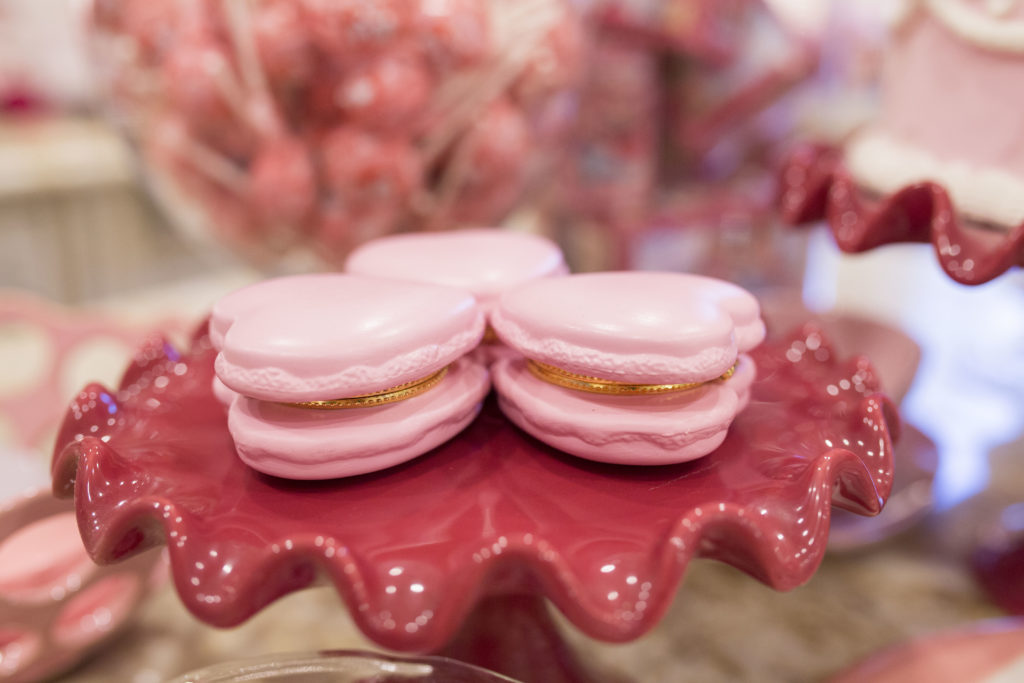
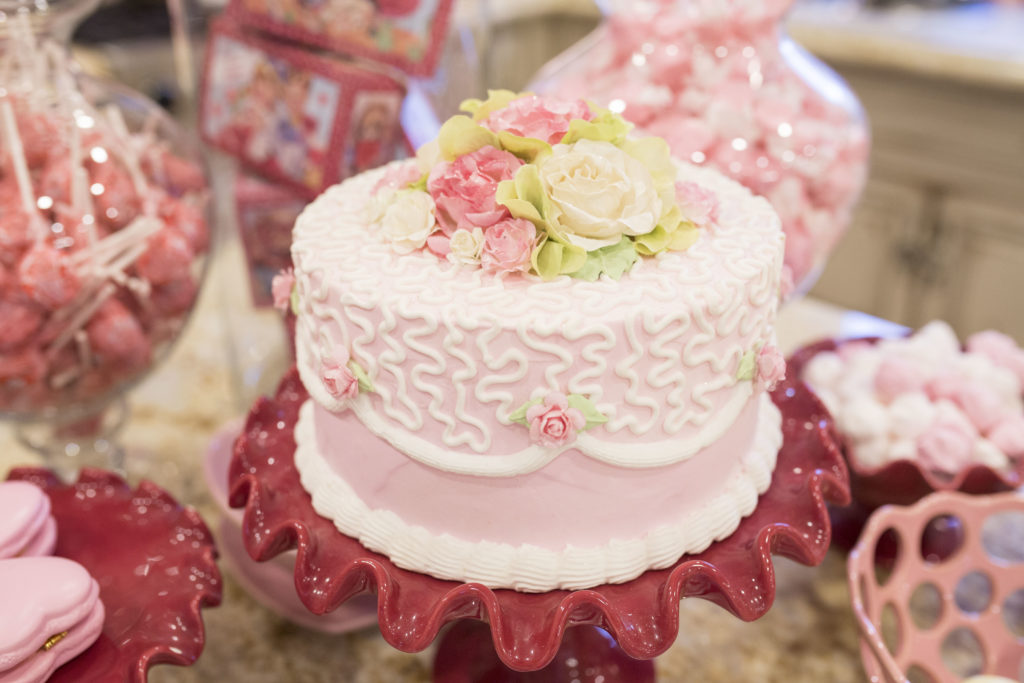
This cake is actually faux and I wish I could remember where I got it!!! UGH!! I have had it about 5 years and it still looks good!!
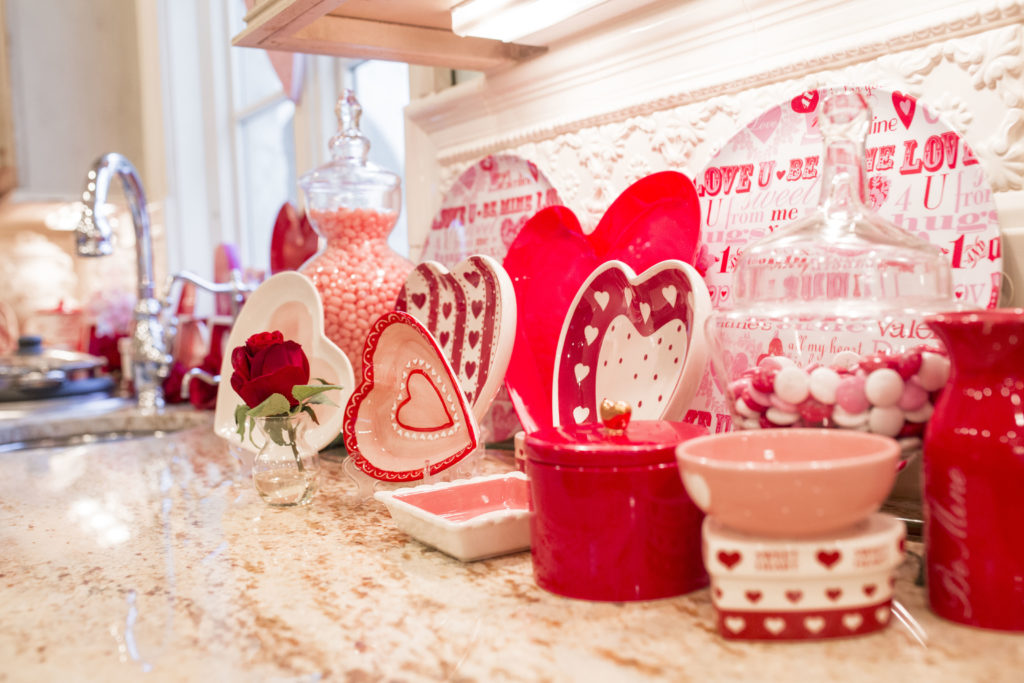
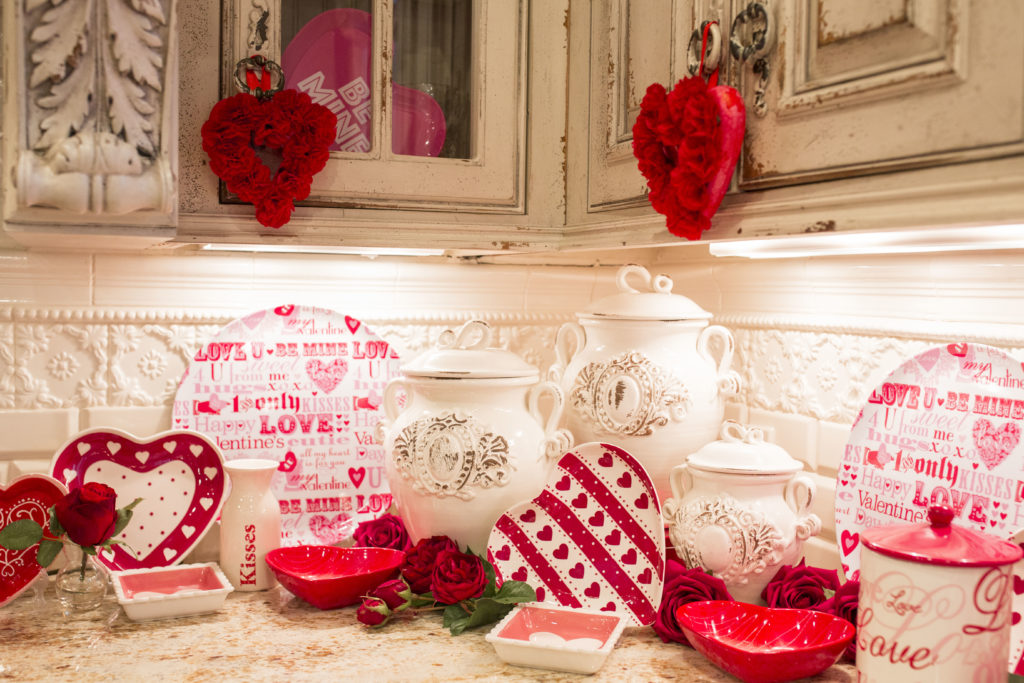
I have collected so many cute Valentine plates over the years and I finally created my favorite way to display them!! Think eyeliner! I line the whole kitchen wall with them!!
I found this sweet pink LOVE sign at a boutique in Dallas called Ballard & Blakely! If you are local, it is worth the trip! The owner is lovely and carries fun, unique items!
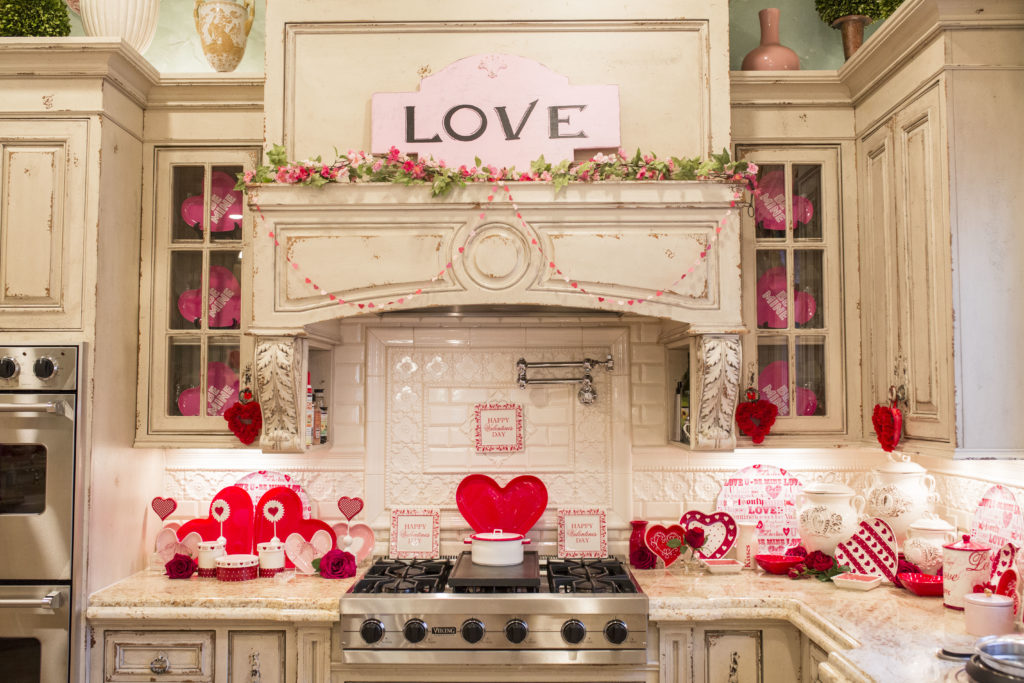
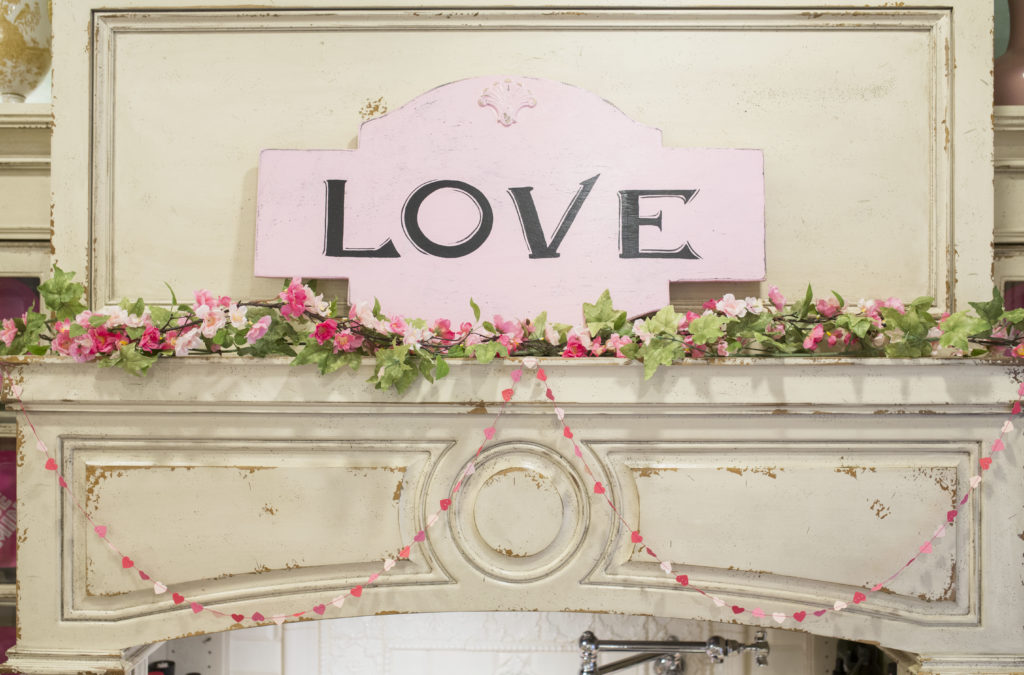
In order to bring the sign to life, I added two delicate flowering vines from Michaels, and a very simple heart garland from target.
How Sweet!
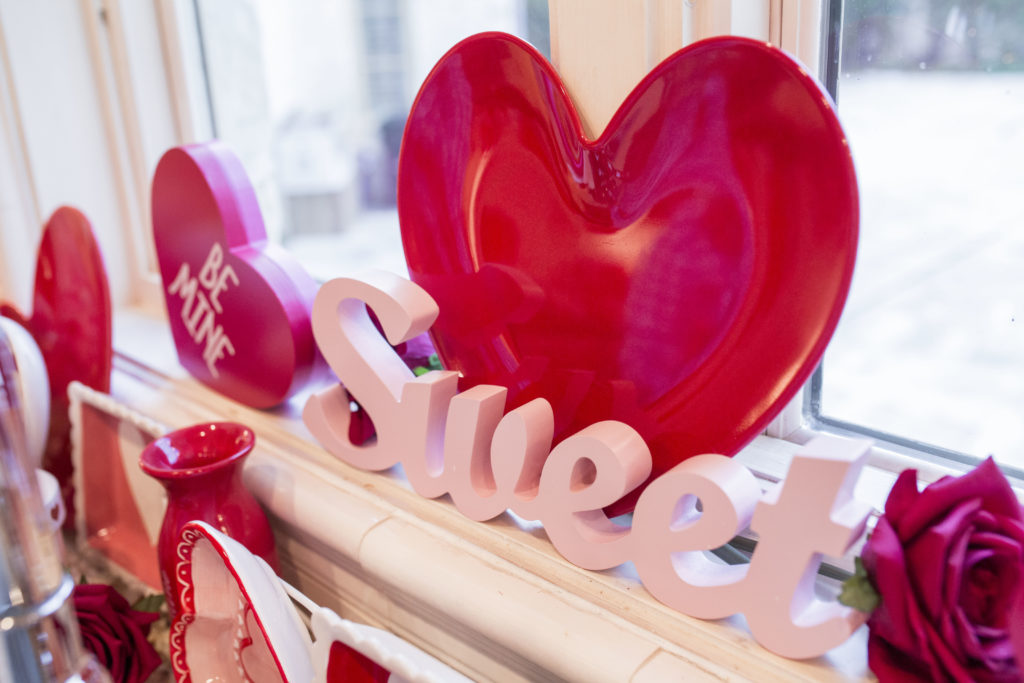
I hope you all have a very sweet Valentine’s Day surrounded by those you love! I send my love to you!!
Shop some of my favorite Valentine decor kitchen picks by clicking on the widget below, or see it all on my Favorites page!
Hugs… Jennifer



I’m so inspired and encouraged! Keep the tips and pictures coming!!!