I often get asked the question, “Which holiday do you love to decorate for the most?” I usually respond, “That is almost like asking me which child I love the most!” Giggle 🙂 I truly love them all….. BUT, because my house kind of already resembles an Easter Basket, I say… Easter is the easiest!! Since I never do the same decorations from year to year, I thought it might be fun to walk you through my decorating process!
How to Decorate for Easter!
Step 1: Pick A Theme
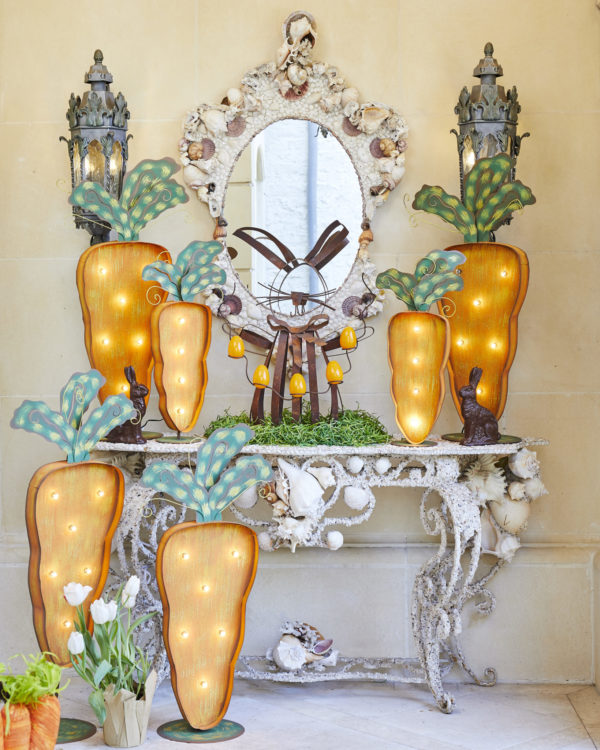
The way I determine a theme is by picking one item of decor that I love, and then I start building around that central piece. For example, this year I chose a CARROT! Now, I know all women love carats, but I’m talking about the orange, skinny variety :)!!
I fell in love with these big bright carrots from The Round Top Collection and knew I wanted to make them central in this year’s Easter Decor! I had my theme!!
PSSST…… I get these carrots directly from the manufacturer and they are difficult to find! The owner, Jeff, allows me to offer his products to my blog followers (probably because I own practically everything he makes)! I just checked and they are ON SALE; plus, if you put in the code TCL20 at checkout, you get an additional 20% off!! Wahoo!!
Step 2: Add Items That Build Upon the Theme
When you think of a carrot, what other words come to mind? For me, I thought, rabbits, gardens, outdoors, orange and green. I went in search for the perfect items to fit this criteria. Here is what I found….
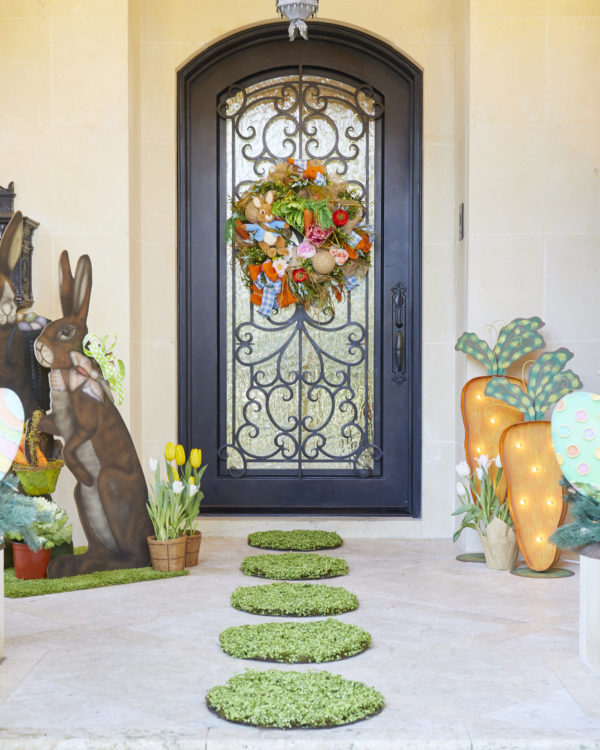
How absolutely adorable are these moss mats? When I saw them I wasn’t sure if they were placemats or outdoor mats, but the gentlemen at World Market didn’t know either, so we took a vote and decided to declare them “outdoor garden stepping stones”!! They are perfect! They fit in the “garden” category of our theme and create such an inviting path to the door!
I love the pop of the green from the mats, so I chose to add more! This green rug serves as a base for some fabulous rabbits I already had on hand. I wish I could get these rabbits again (believe me I have looked) but I think I may have the only ones left in captivity!! I then added a green basket filled with carrots (of course) for the mama to hold, and some fresh cabbage and tulip plants to complete the “rabbit” portion of our theme.
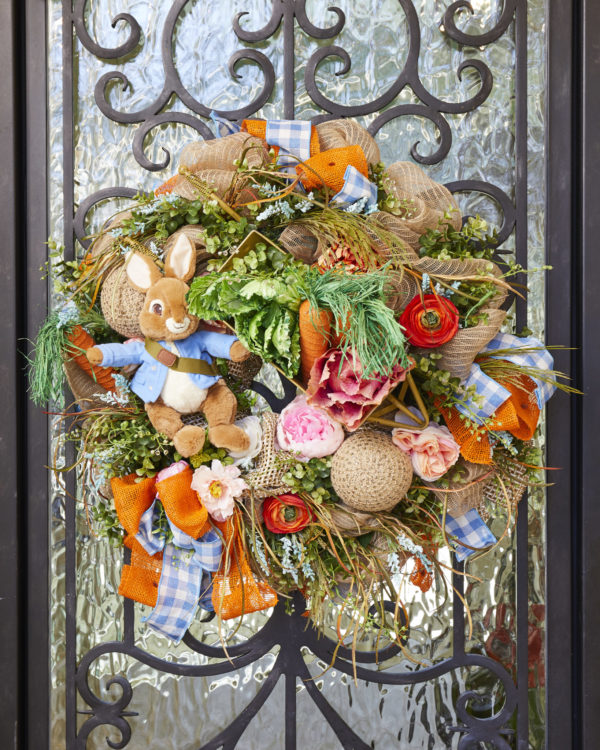
With both sides of the porch visually weighted and adorably decorated, we can move to the door! My go-to for wreaths is babamwreaths!! If you have never ordered from them, you have got to check them out!!! You can pick from the ones they have in stock or you can literally give Amy any theme and she will create the perfect wreath for you!!! I told her I wanted something incorporating carrots, gardens, and Peter Rabbit! (My kids and I loved the new Peter Rabbit movie!!) She exceeded my expectations!!
Step 3: Create a Cohesive Look
If you choose to decorate various rooms, be sure to carry a part of the theme into each space!
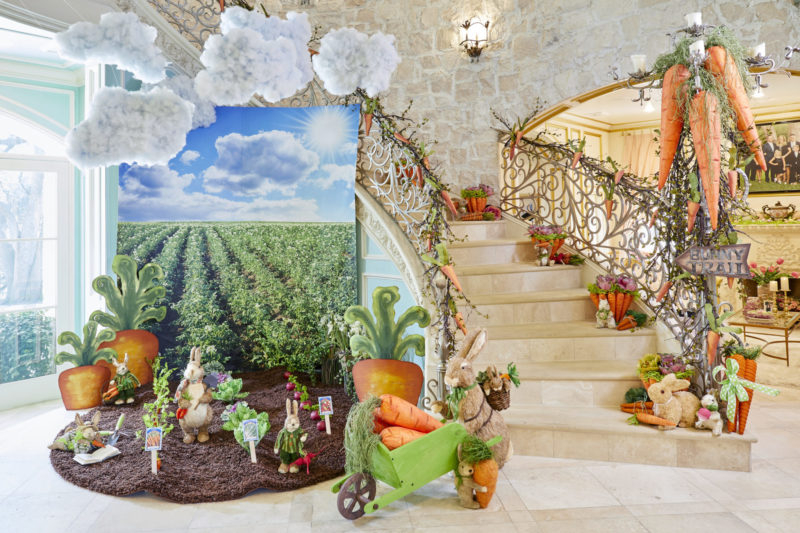
I am pretty much crazy for this entryway!! I grew up helping with the planting, weeding, and harvesting of our family garden, so I was naturally drawn to carrying the “garden” portion inside!
In creating this “home garden,” I first started with the “dirt.” Although I seriously considered bringing in real dirt (I fortunately came to my senses), I settled on this brown shag rug! Next, wanting to create the illusion of a vast garden, I hung this amazing mural. Technically, I think it is a potato farm, but only people from Idaho would know right? In order to carry the “mounds” from the mural into the garden, I created my own “mounds” with styrofoam! Simply sliding the styrofoam under the rug gives it the lift it needs. We’ve created the illusion that the mounds flow right off the mural into our garden! This is the only time sliding something under a rug is encouraged! Giggle 🙂
At this point I had a little design dilemma! I wasn’t liking the hard line of the mural butting up against the wall and banister. It had to be softened! I got my kids involved at this point! We spent the evening making our own clouds out of posterboard and cotton batting! It was a great Family Home Evening!
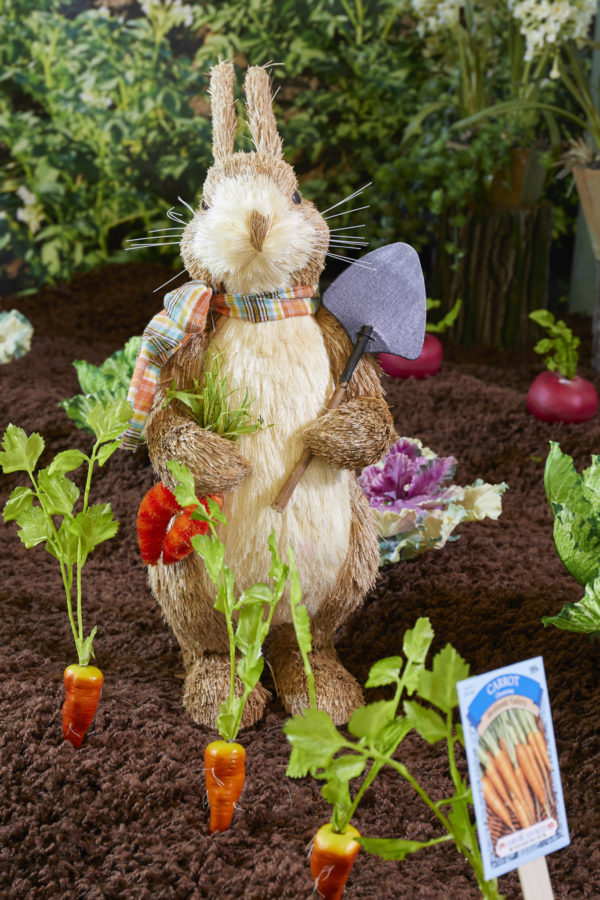
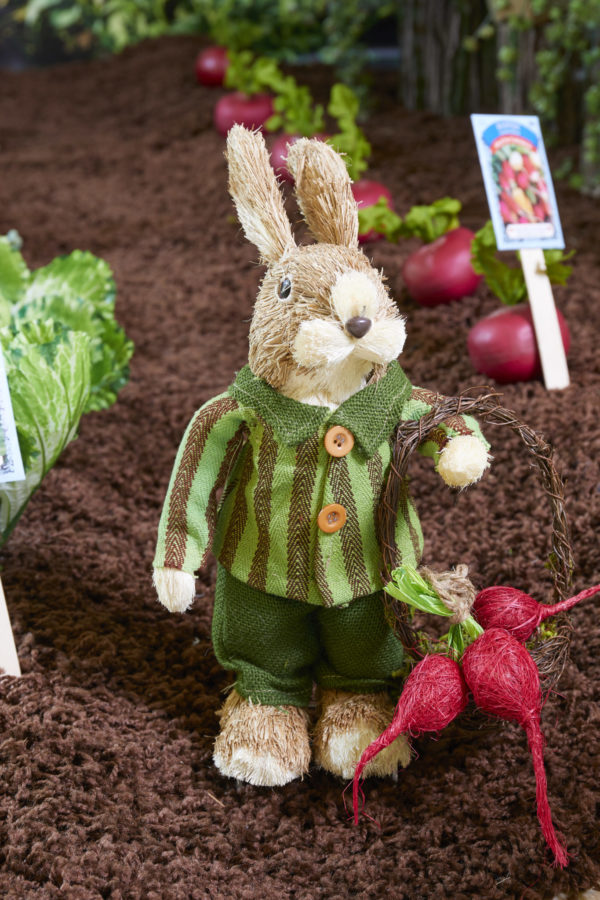
Next, I added carrots, cabbages, and beets in a straight line and finished off each row with real seed packets!
Our garden is ready for a family of bunnies!
Design tip: In order to get the carrots and cabbages to stay upright I used toothpicks! First, put the toothpick in the styrofoam and then gently attached the vegetables.
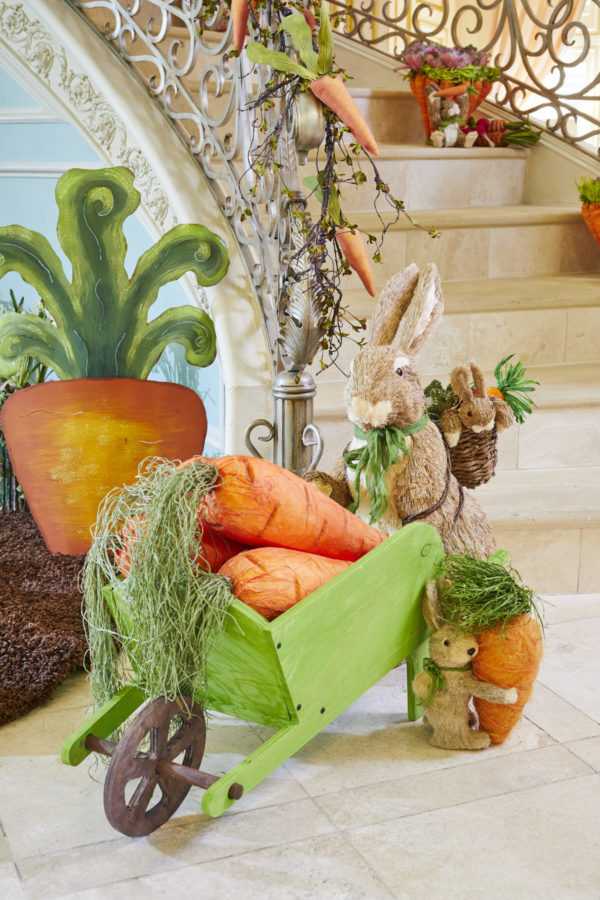
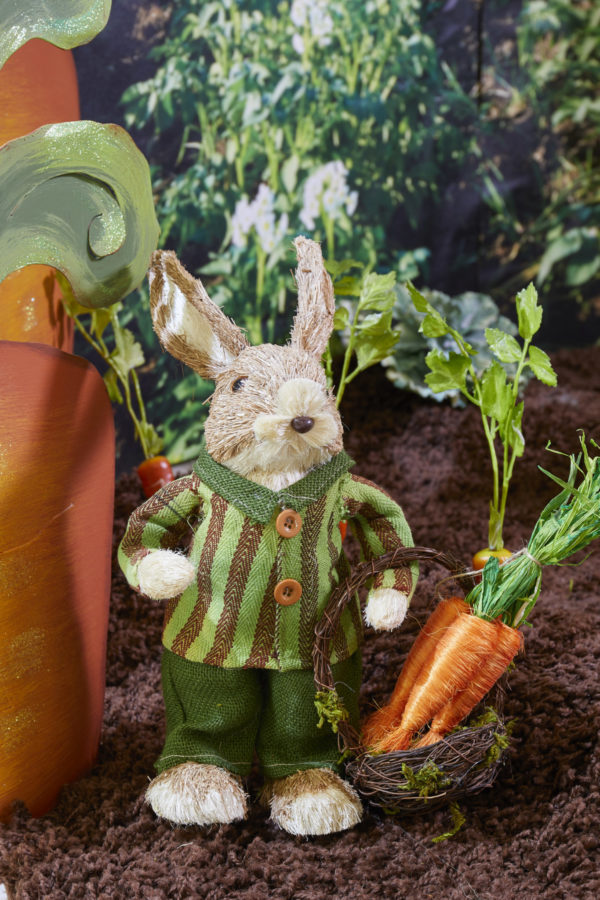
Bunnies, Bunnies and more Bunnies!! This is where the fun comes in! Let’s tell the story of our bunny family! We see Momma Bunny (similar) with baby bunny in her basket, pushing a load full of freshly picked carrots in her wheelbarrow while little Alexander Bunny (similar) stays close by, holding his prize carrot!!!
The teenage bunnies are all hard at work harvesting the carrots and beets. They have filled their baskets and are headed in with a load!
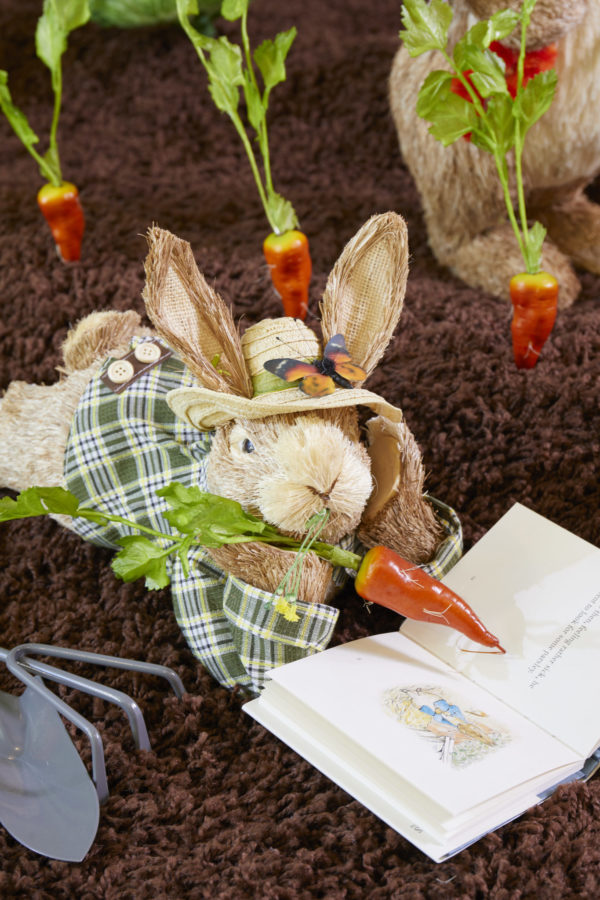
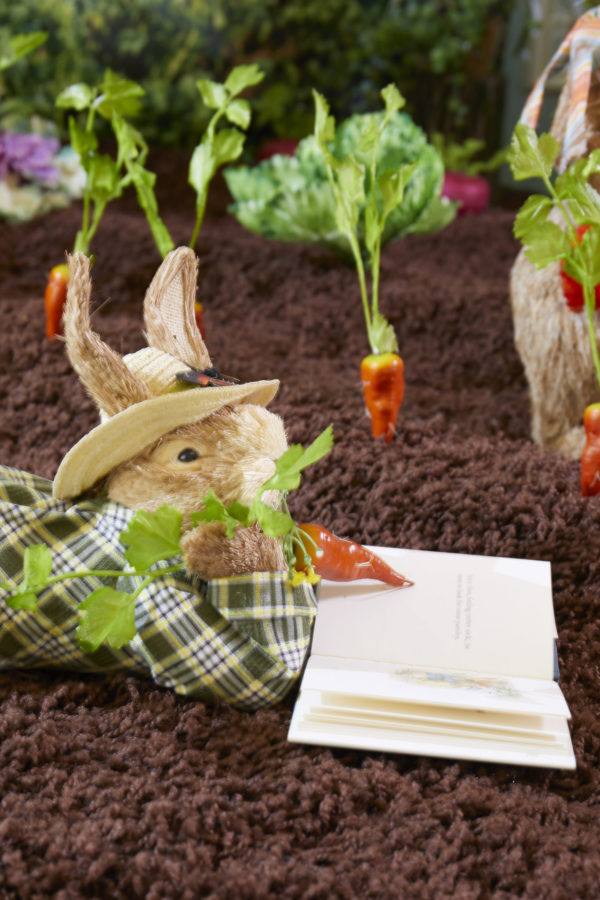
Oh no!!! We spy one bunny NOT hard at work! Oliver bunny has had enough! He has decided to take it easy and has plopped down with a nice book!
Now that our garden is complete, let’s move onto the banister and stairs!!
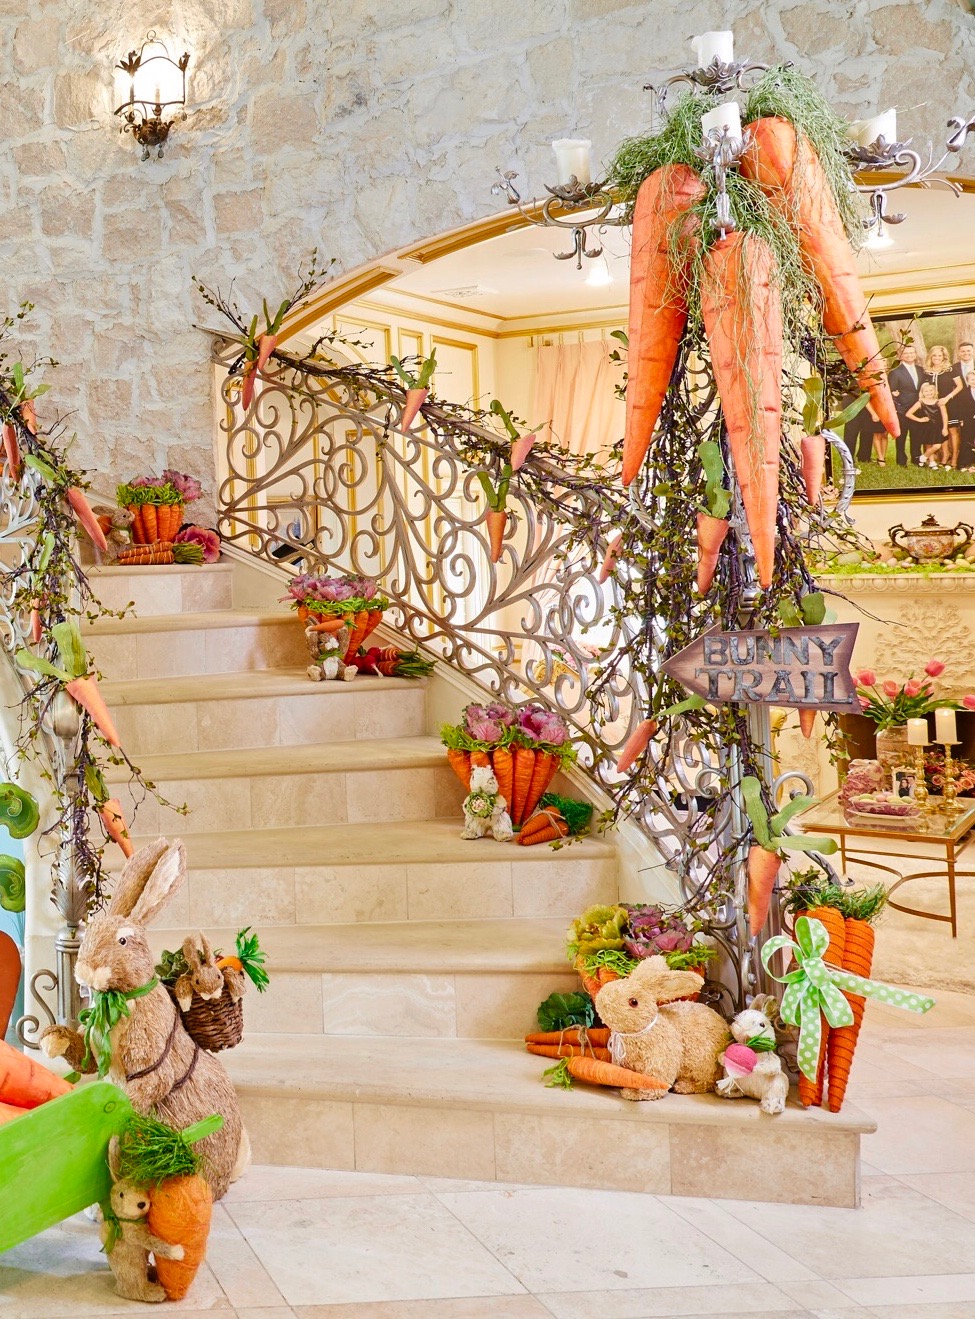
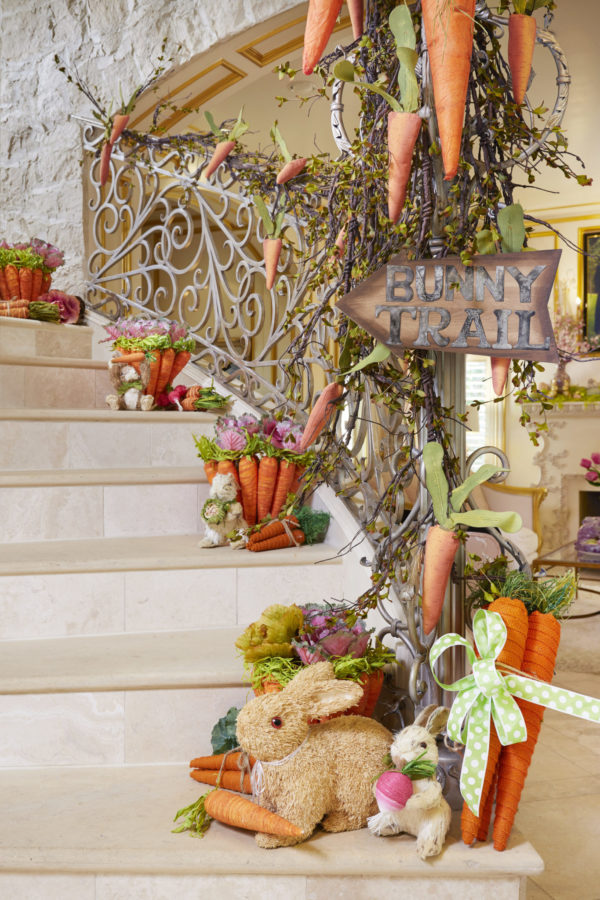
Lining the banister with simple vines and canvas carrots is all it needs to carry on our “outdoor” part of the theme inside. I did feel it was a little visually heavy with the clouds however, so I remedied this by placing large carrots on the lamppost! I love it!
As far as the stairs themselves, I was able to incorporate several more bunnies from my bunny collection by lining every other stair with a small vignette! I repeated the “garden” portion of the theme and added a pop of orange by using carrot pots (similar) filled with additional garden vegetables!
Finally, Entryway Table!
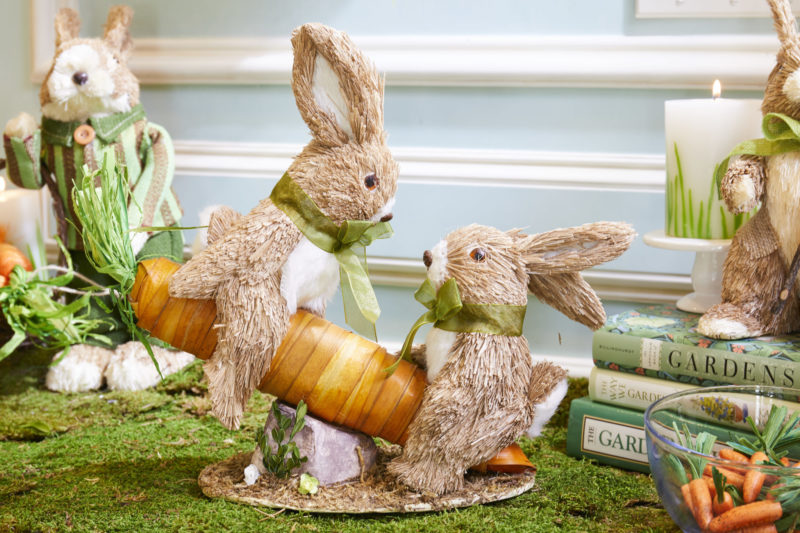
First, I covered the table with moss and then created a “play area” for some of my FAVORITE bunnies!! Decorating Tip: One of my most favorite holiday decorating tips is to exchange out everyday art with inexpensive coordinating art! Its as if the bunnies have moved in and hung their photos on the wall!
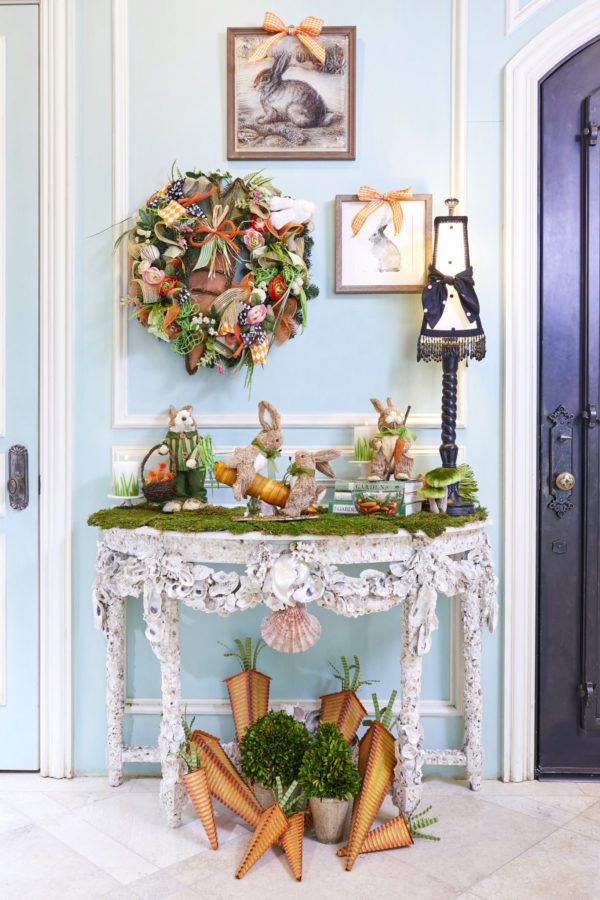
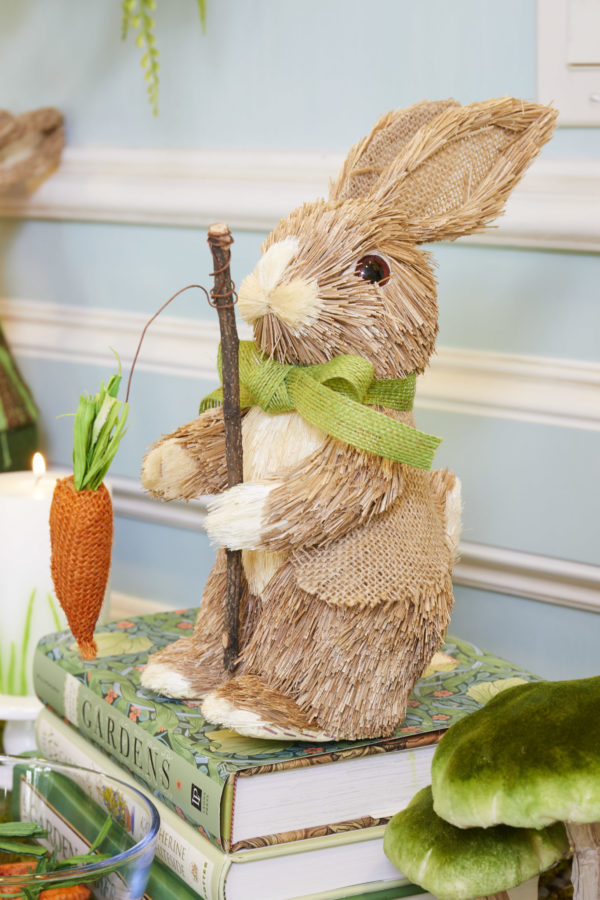
My son, Sam, loves to fish so when I saw this bunny with a fishing pole, I knew he needed to join our collection. I filled a small glass bowl with mini carrots and placed him on top of a few gardening books. He gets to “fish” all day!
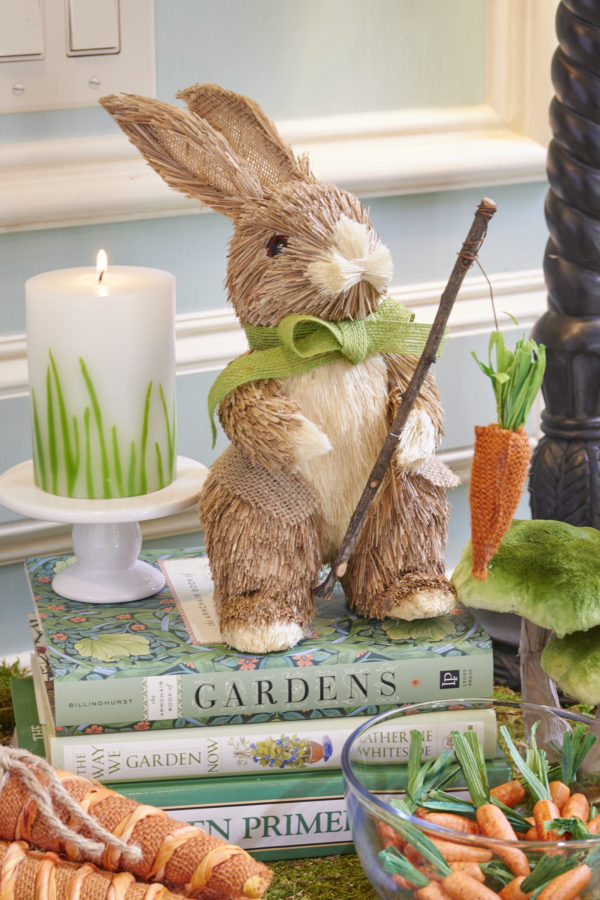
Another of my favorite are the teeter-totter bunnies. One is named Teeter, and the other, Totter!! We affectionately call them the seesaw bunnies! We used to live in New York and always played on the teeter-totters in Central Park so these bunnies bring back great memories!!
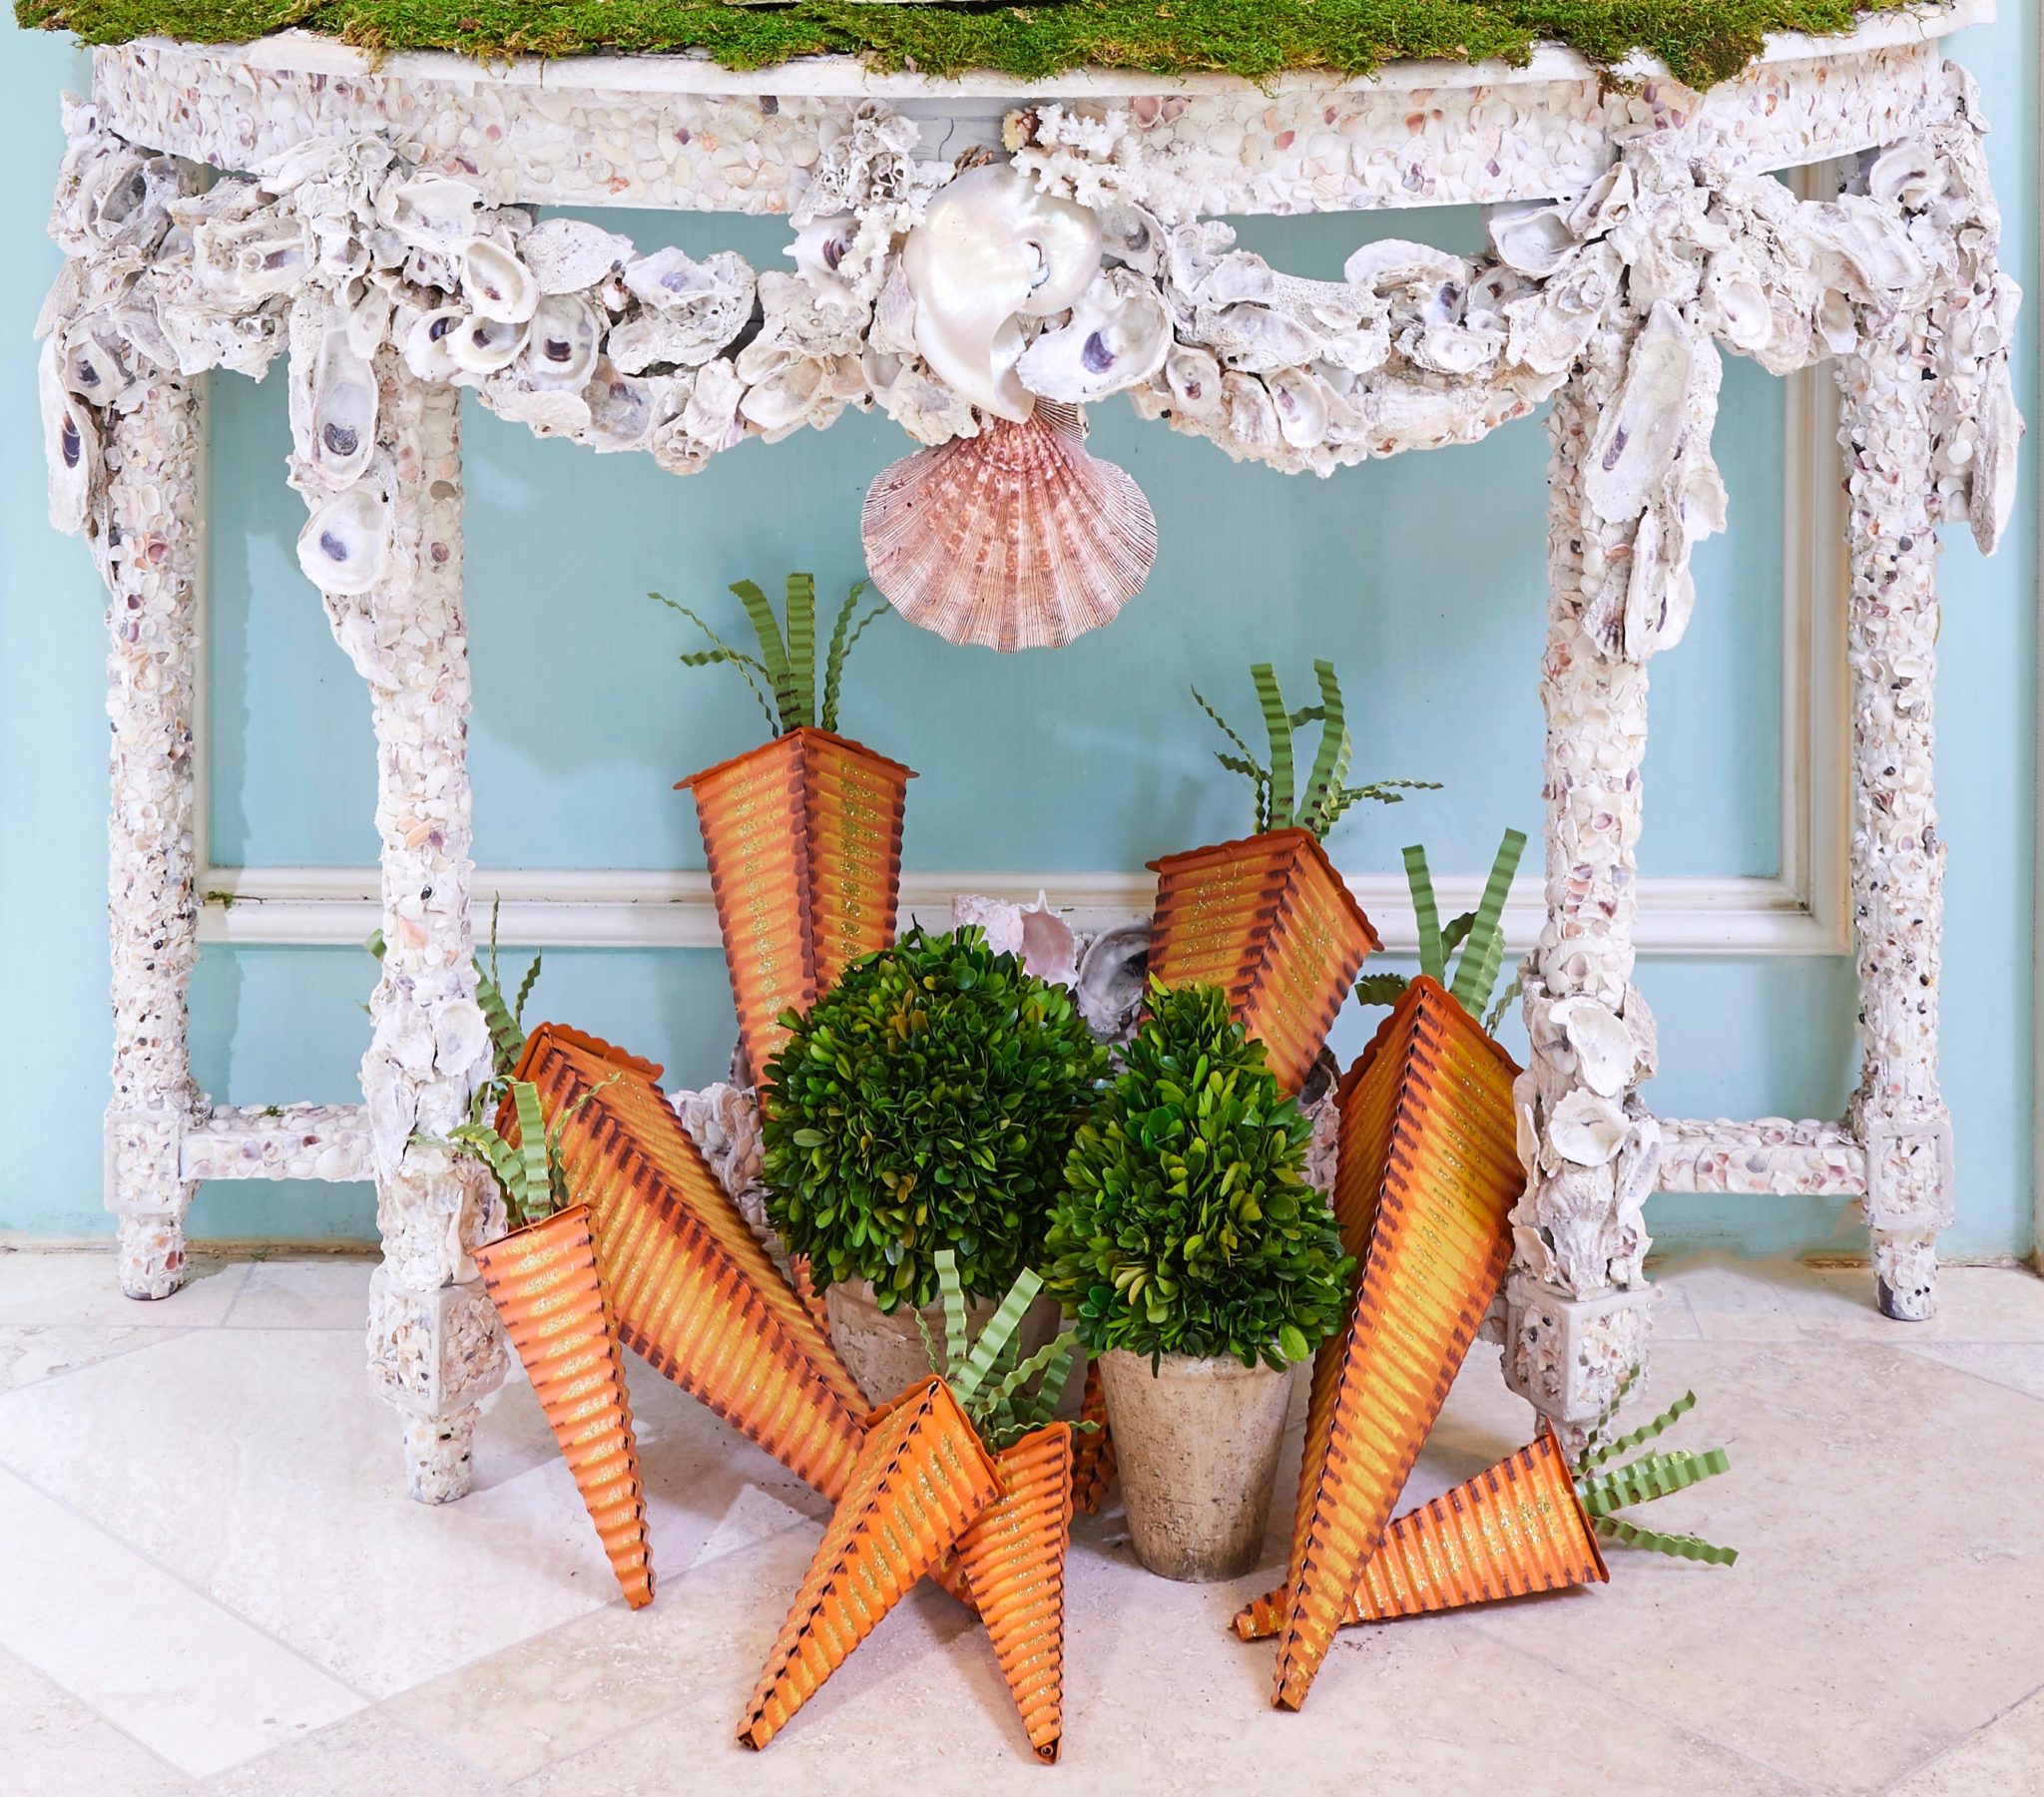
I finished off the look by placing these incredible corrugated metal carrots at the base!
Have FUN with your Easter Decor!! I hope these 3 easy steps have been helpful!!
All photos are shoppable if anything caught your eye!! Remember to put in TCL20 at checkout for your discount if you get anything from The Roundtop Collection!!
Hugs… Jennifer



Thank you for sharing, I love looking at your house. What did you do for the dining room?
Terri
It looks fantastic as always Jennifer! Hugs to you!
Thank you! I’m happy you enjoy the looks!
Simply Spectacular! Each holiday I look forward to seeing how you have decorated your home…it just keeps getting better and better! Thank you for sharing!
YAY! I’m so glad you like everything!
It’s all absolutely gorgeous, did you make those pretty fluffy clouds? And if yes how? Lol…..adorable it all looks….
Smiles~
Maritza
Thank you! My kids and I actually made them together! It was super easy and fun! We took poster board, for the shape, and then made the fluffiness of the clouds out of cotton batting! So much fun, you should try it!!